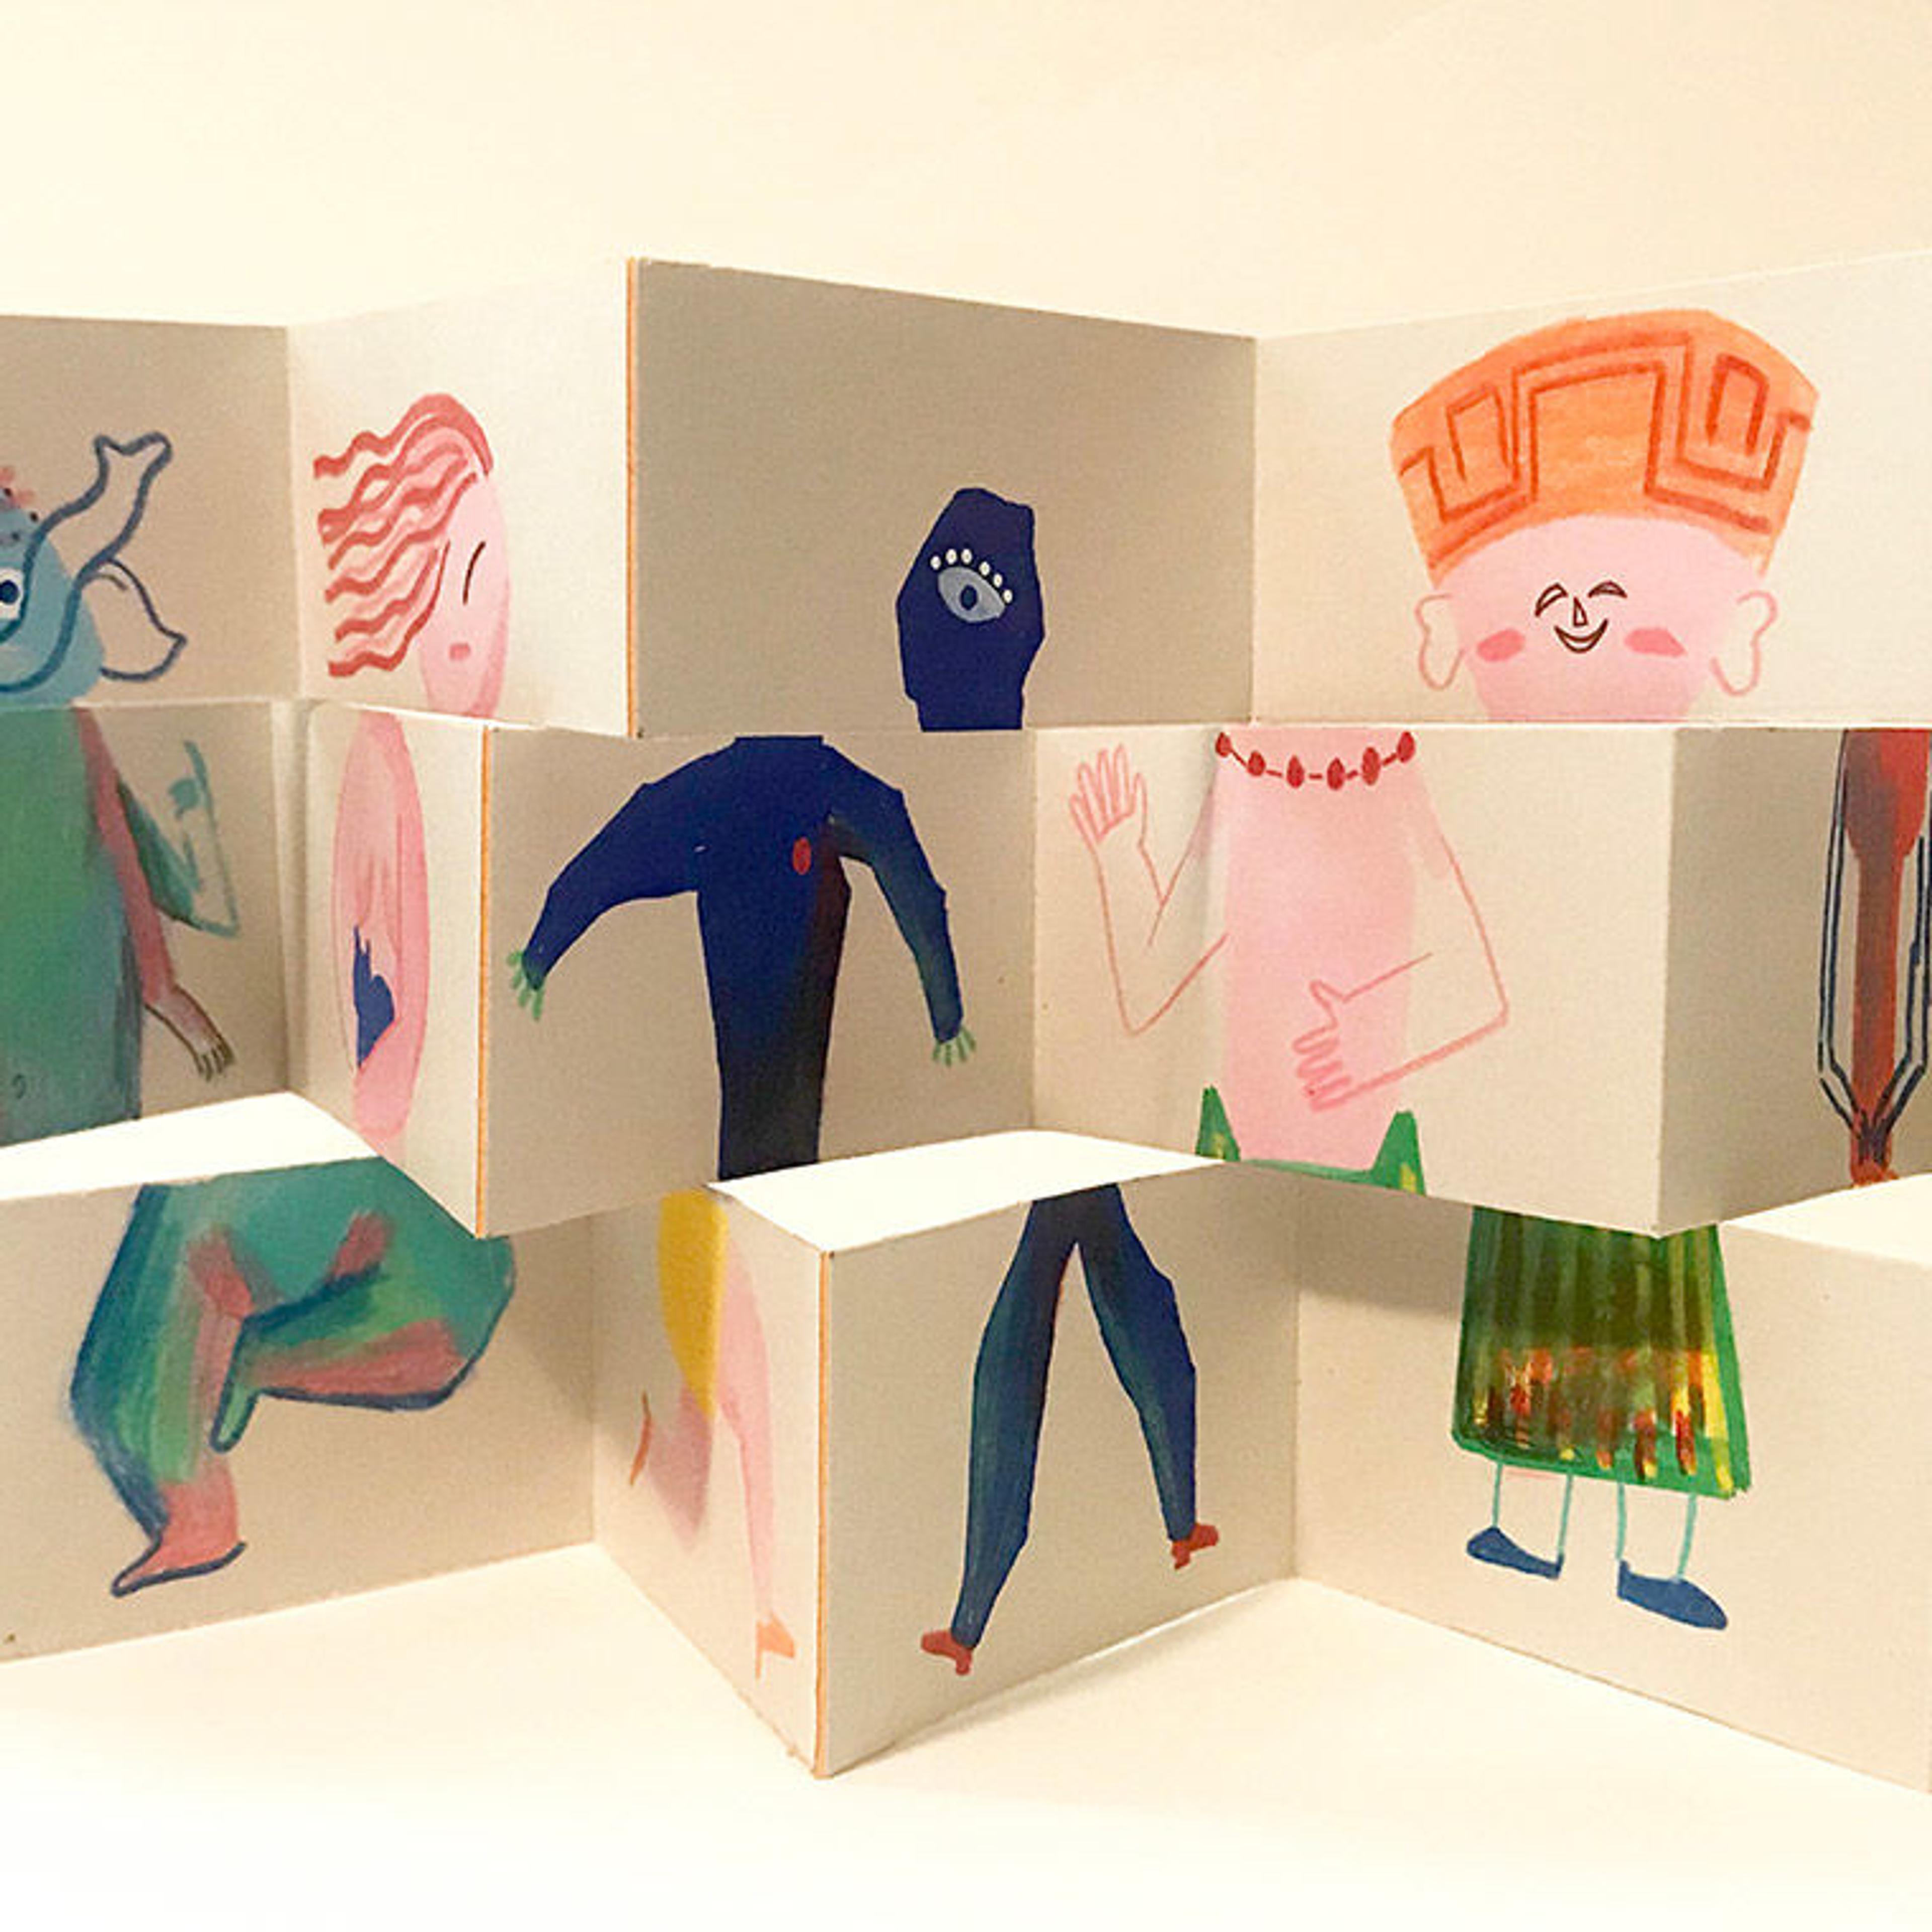
Hi! My name is Il Sung Na. I write and illustrate children’s picture books. To make a picture book, I don't just need a story… I need characters. Creating my own characters is always fun, but sometimes it is hard to know where to begin. When I don’t know where to start, I look at the world around me to find inspiration. If I am looking to be inspired by paintings, sculptures and other works of art, I go to a museum. Being surrounded by art can be very inspirational, and many illustrators and artists love being in museums just for finding inspiration. I typically look for interesting shapes, colors and compositions.
When I would visit a museum, I would draw things that I found interesting in my sketchbook. Sometimes I drew paintings and sculptures, other times I drew building structures or people in the museum. Most museums do not allow wet mediums like ink or paint, so I use graphite pencils or colored pencils.
Another place to find inspiration is on the #MetKids map, which features hundreds of artworks in The Met collection. We are going to search the map for eight inspiring works of art, and use them to create a split-page accordion book. Using this book, you can mix and match different parts from works of art all over the museum to create your very own original character!
Materials
Printer paper
Ruler
Scissors
Drawing materials (colored pencils, markers, crayons… just pick your favorite!)
Instructions
First, you will need to make an eight-panel accordion book. Fold the paper in half like a long strip and cut it. Put one of the long strips aside. Fold the remaining strip of paper three times, as in the image below:

Divide the paper into three sections by drawing two straight lines across the paper strip. Mark the ends of the lines on the side, then use a ruler to connect them. Each panel will have a corresponding number between one and eight, like below:

Next, look for artworks that inspire you on the #MetKids map. Take your time: there is a lot to see! You will need to find 8 works of art. Choose ones that have a head, body, and legs, if possible.
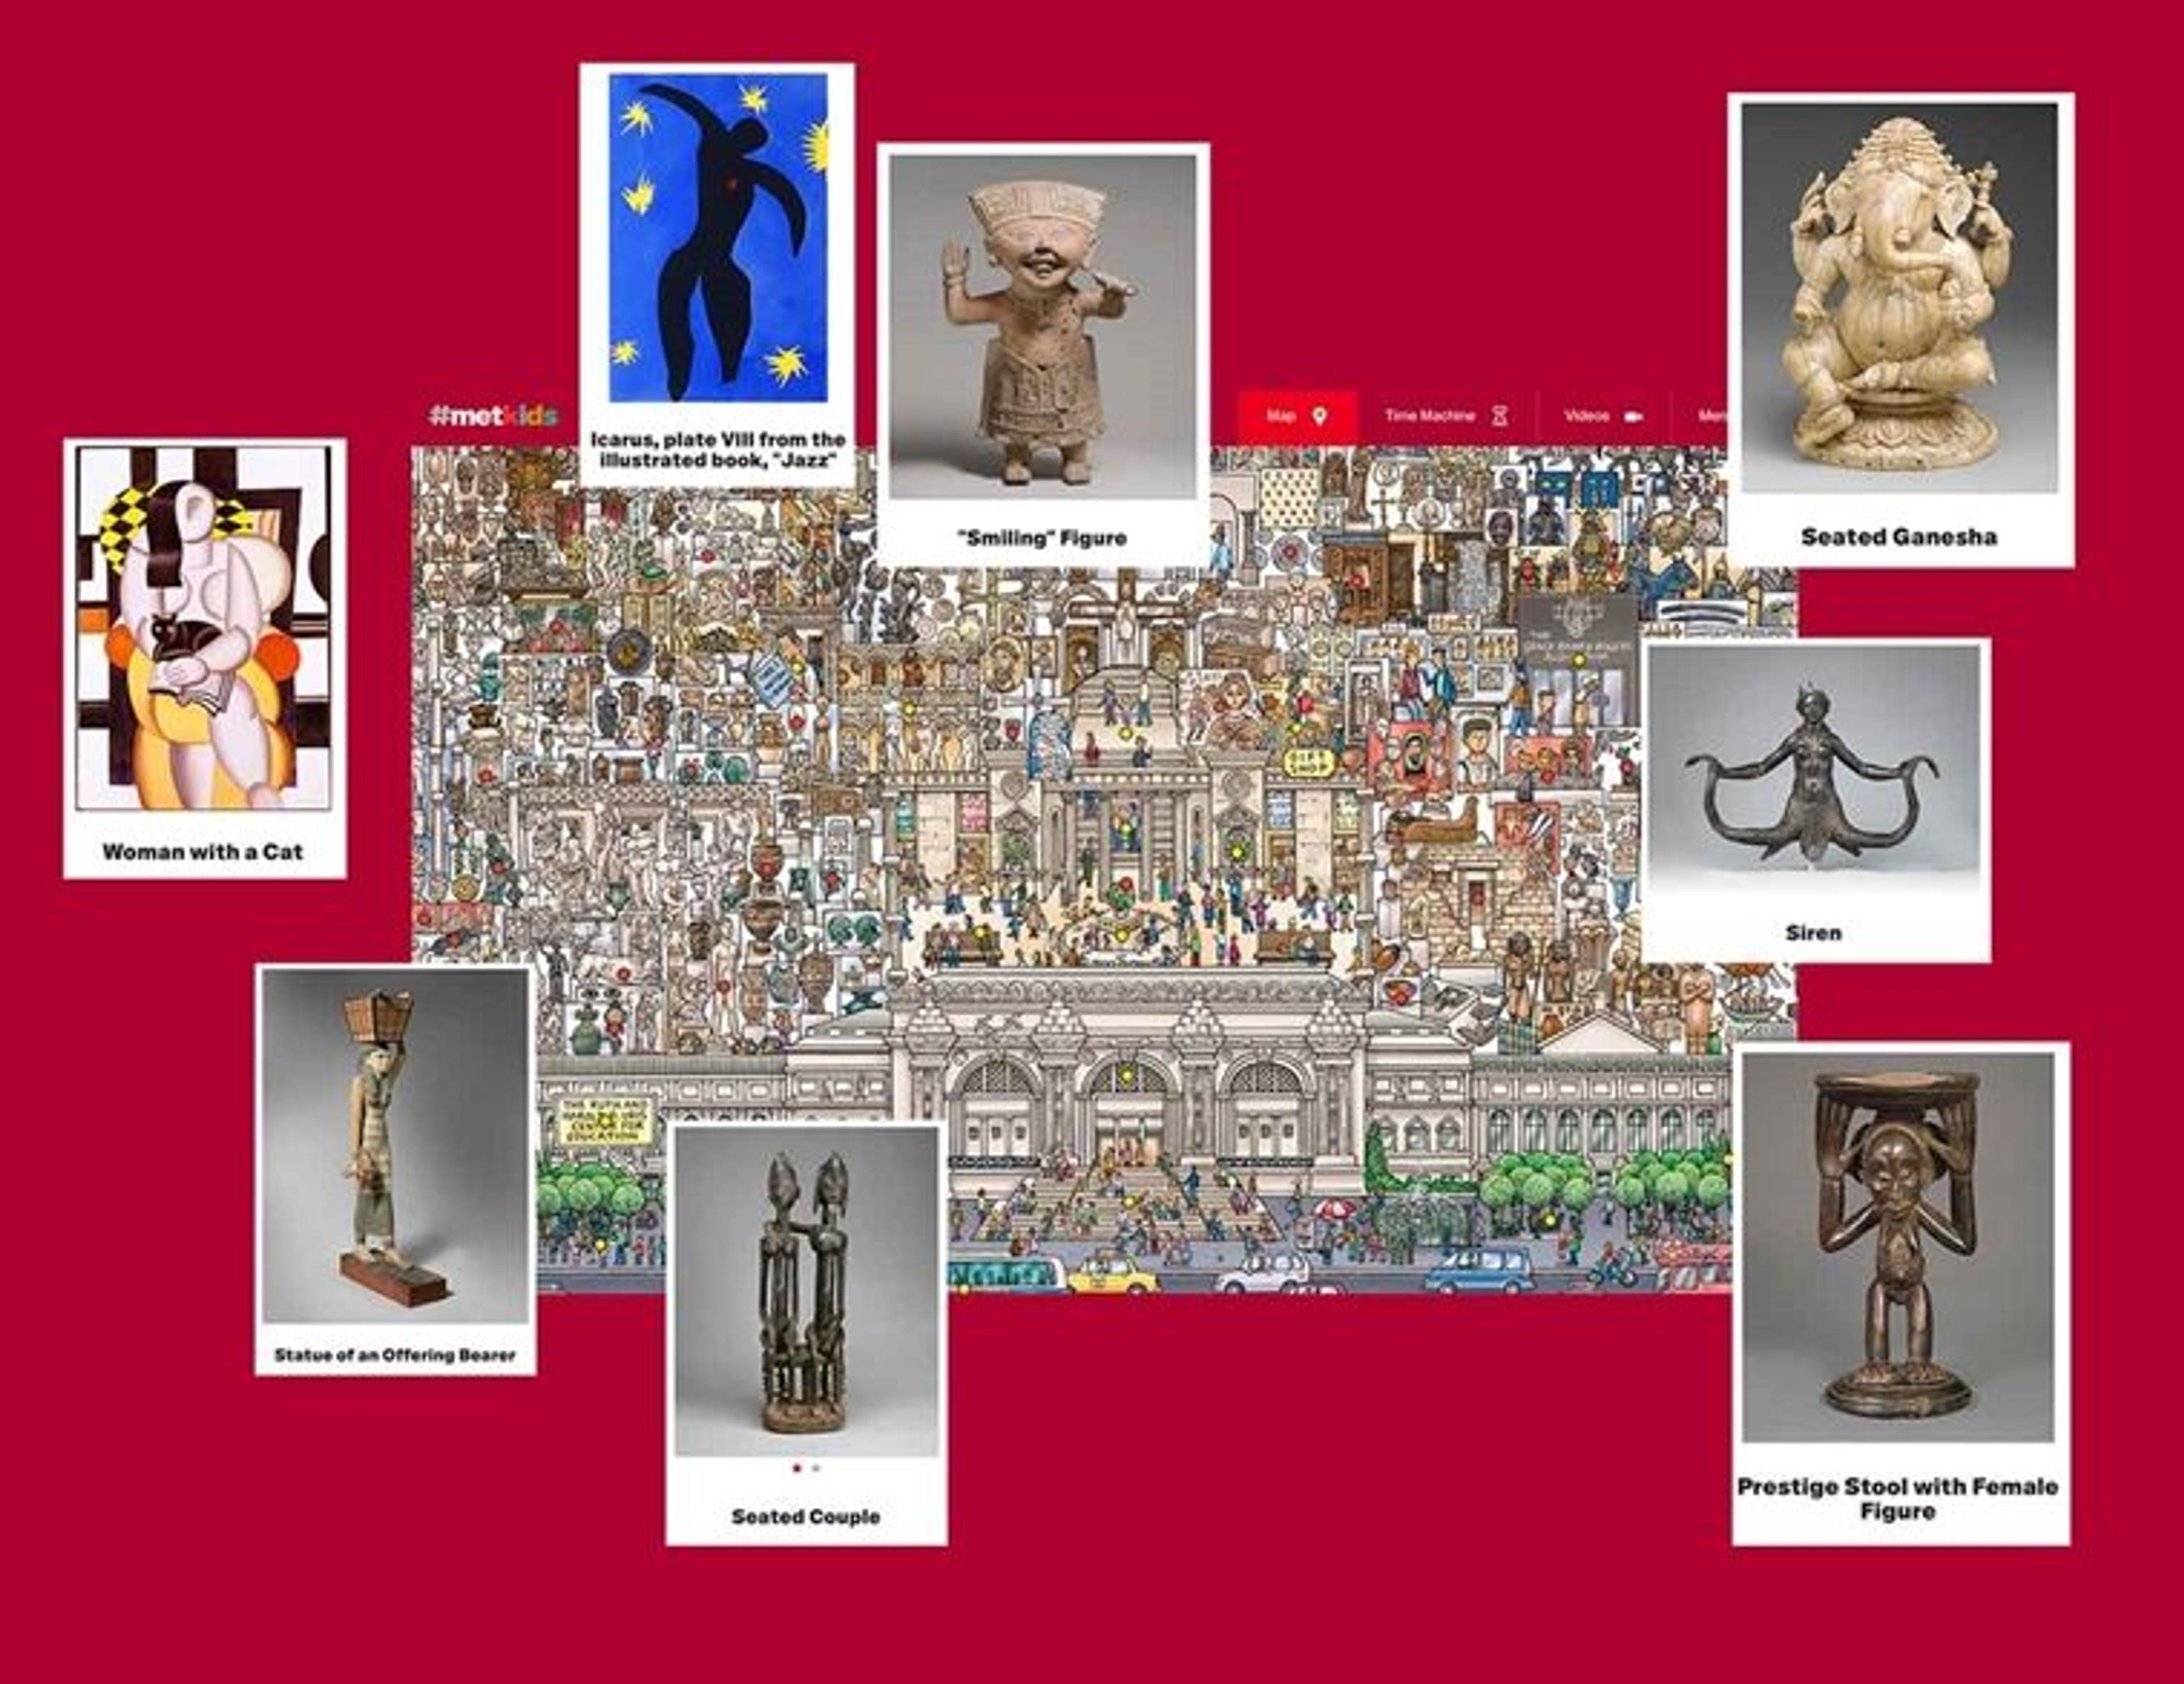
Now, the fun begins. There are some very simple rules to follow: the head should stay in the top section; the torso, including arms and hands, must stay in the middle section; and the legs must stay in the bottom section.
Be creative! Let me show you how I drew mine:
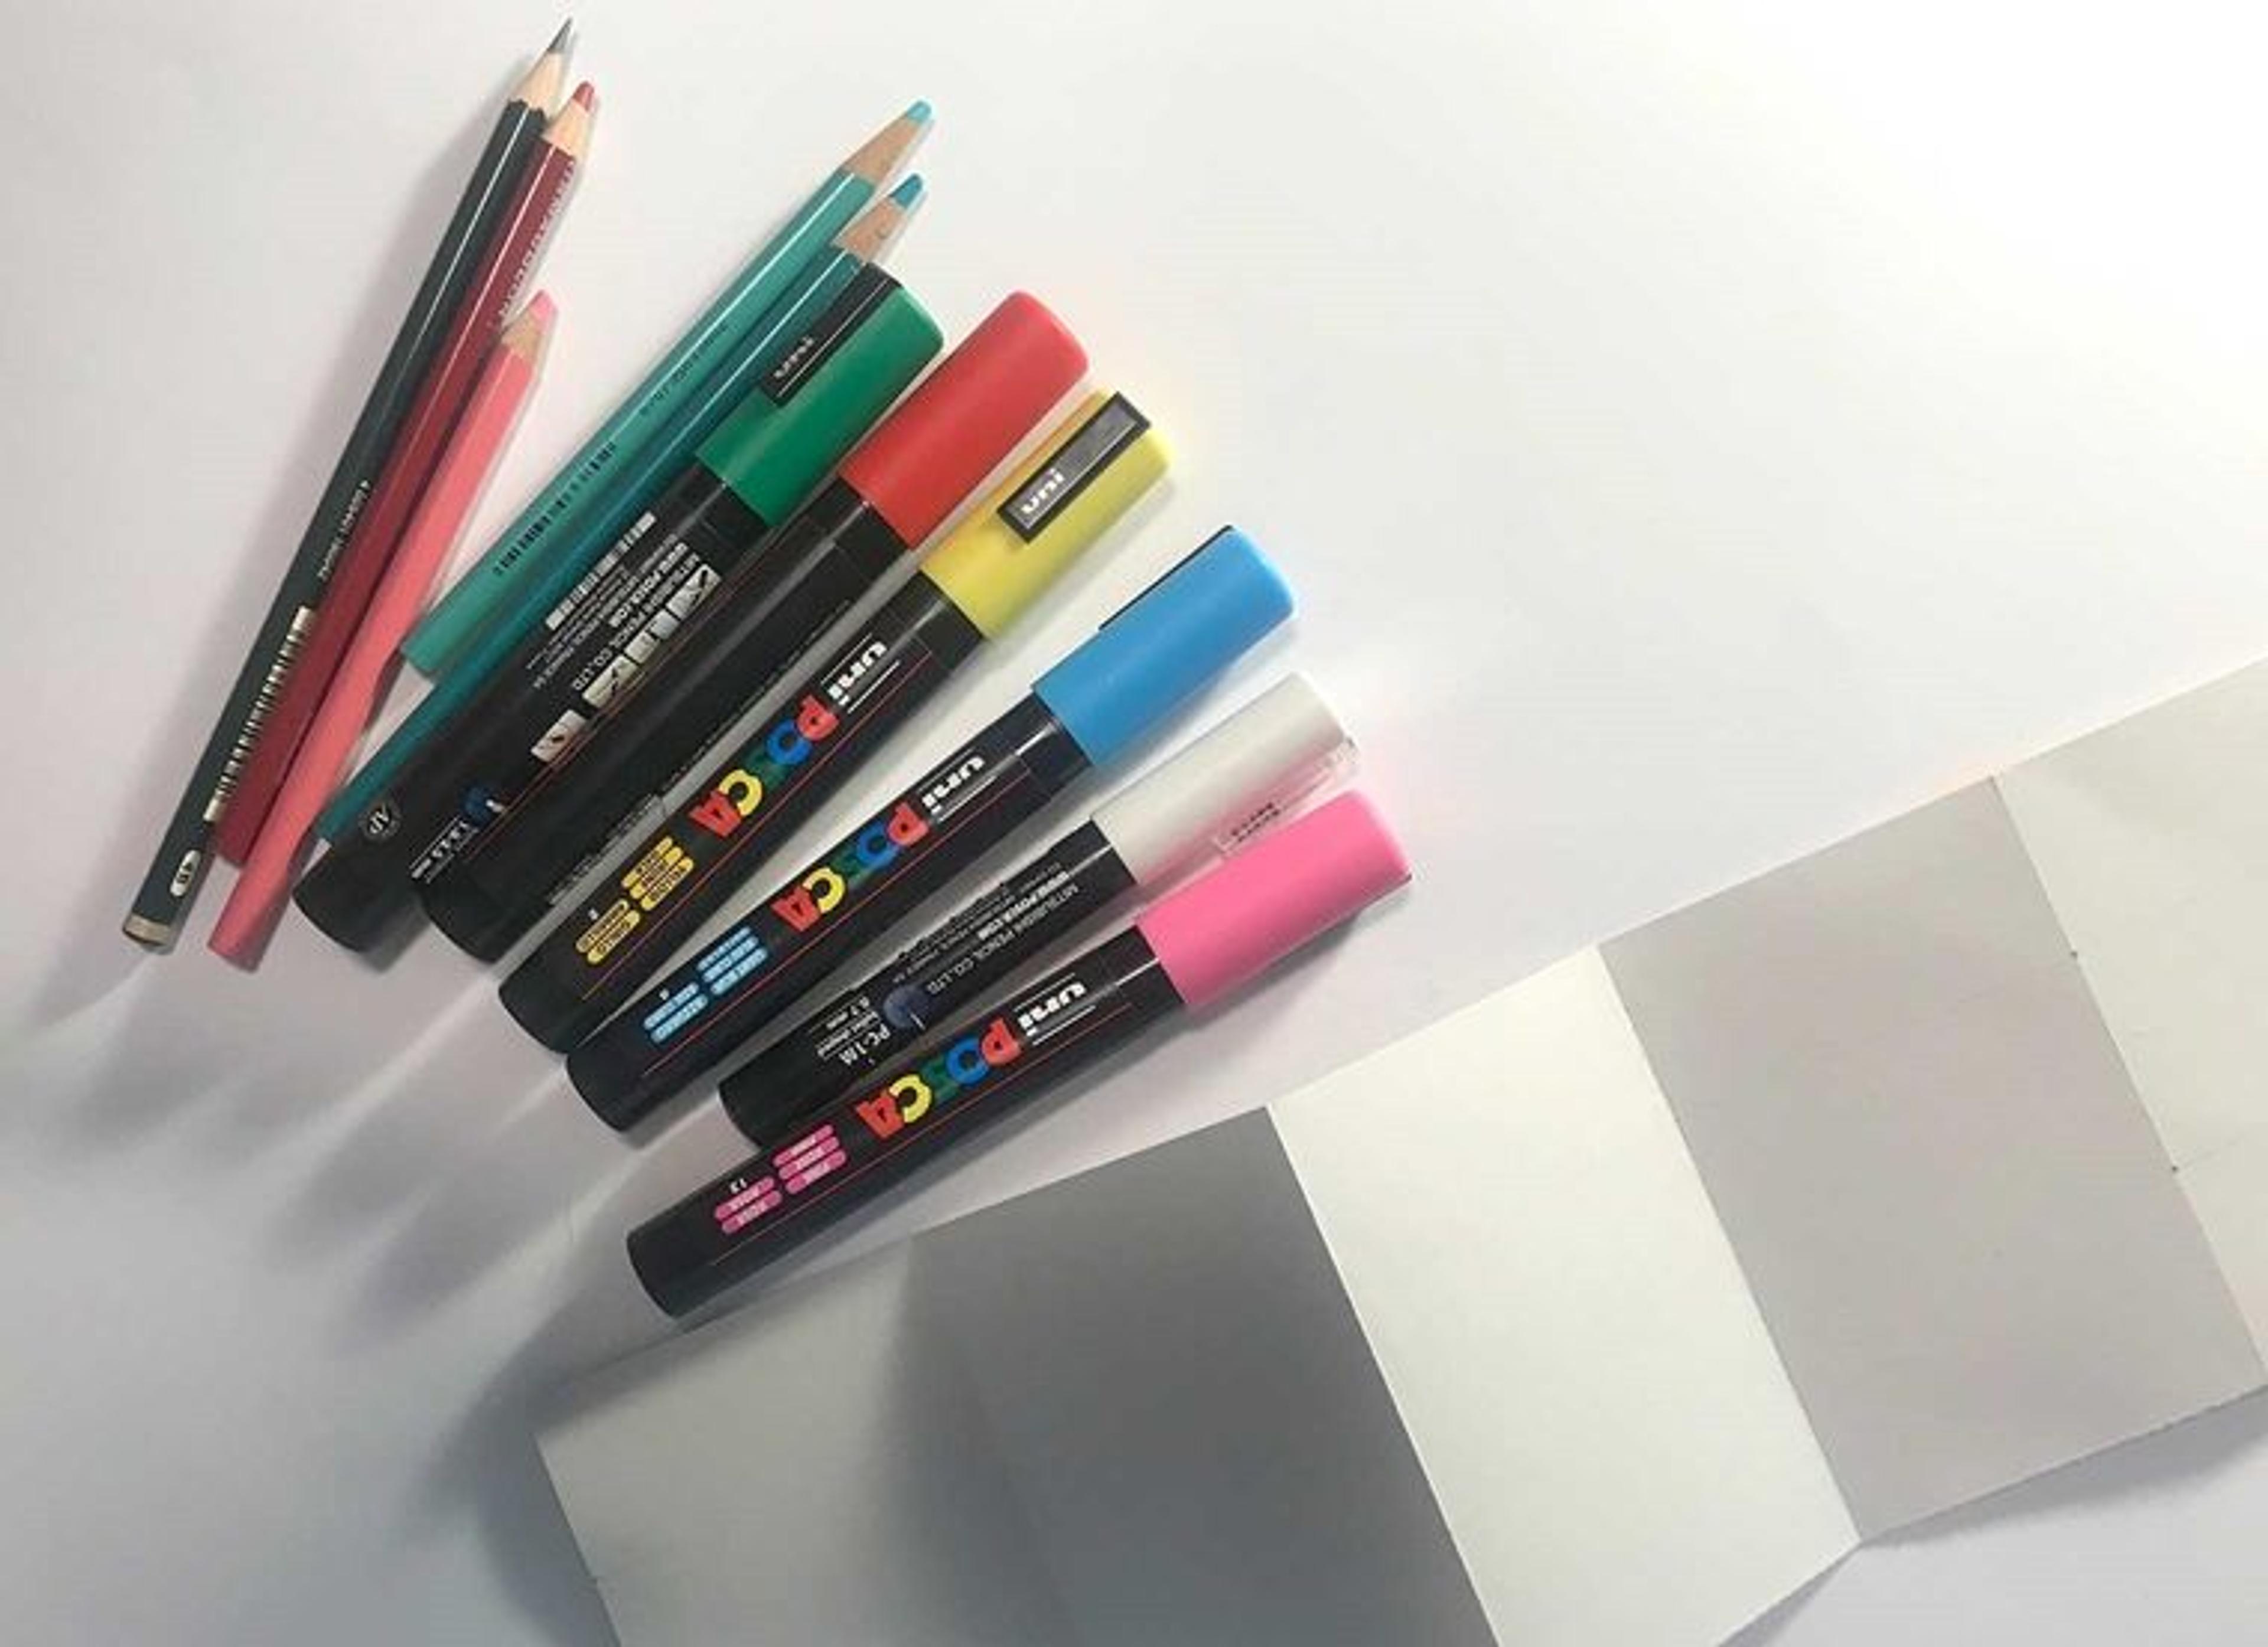
I have my blank accordion book ready. These are going to be my drawing tools for today.
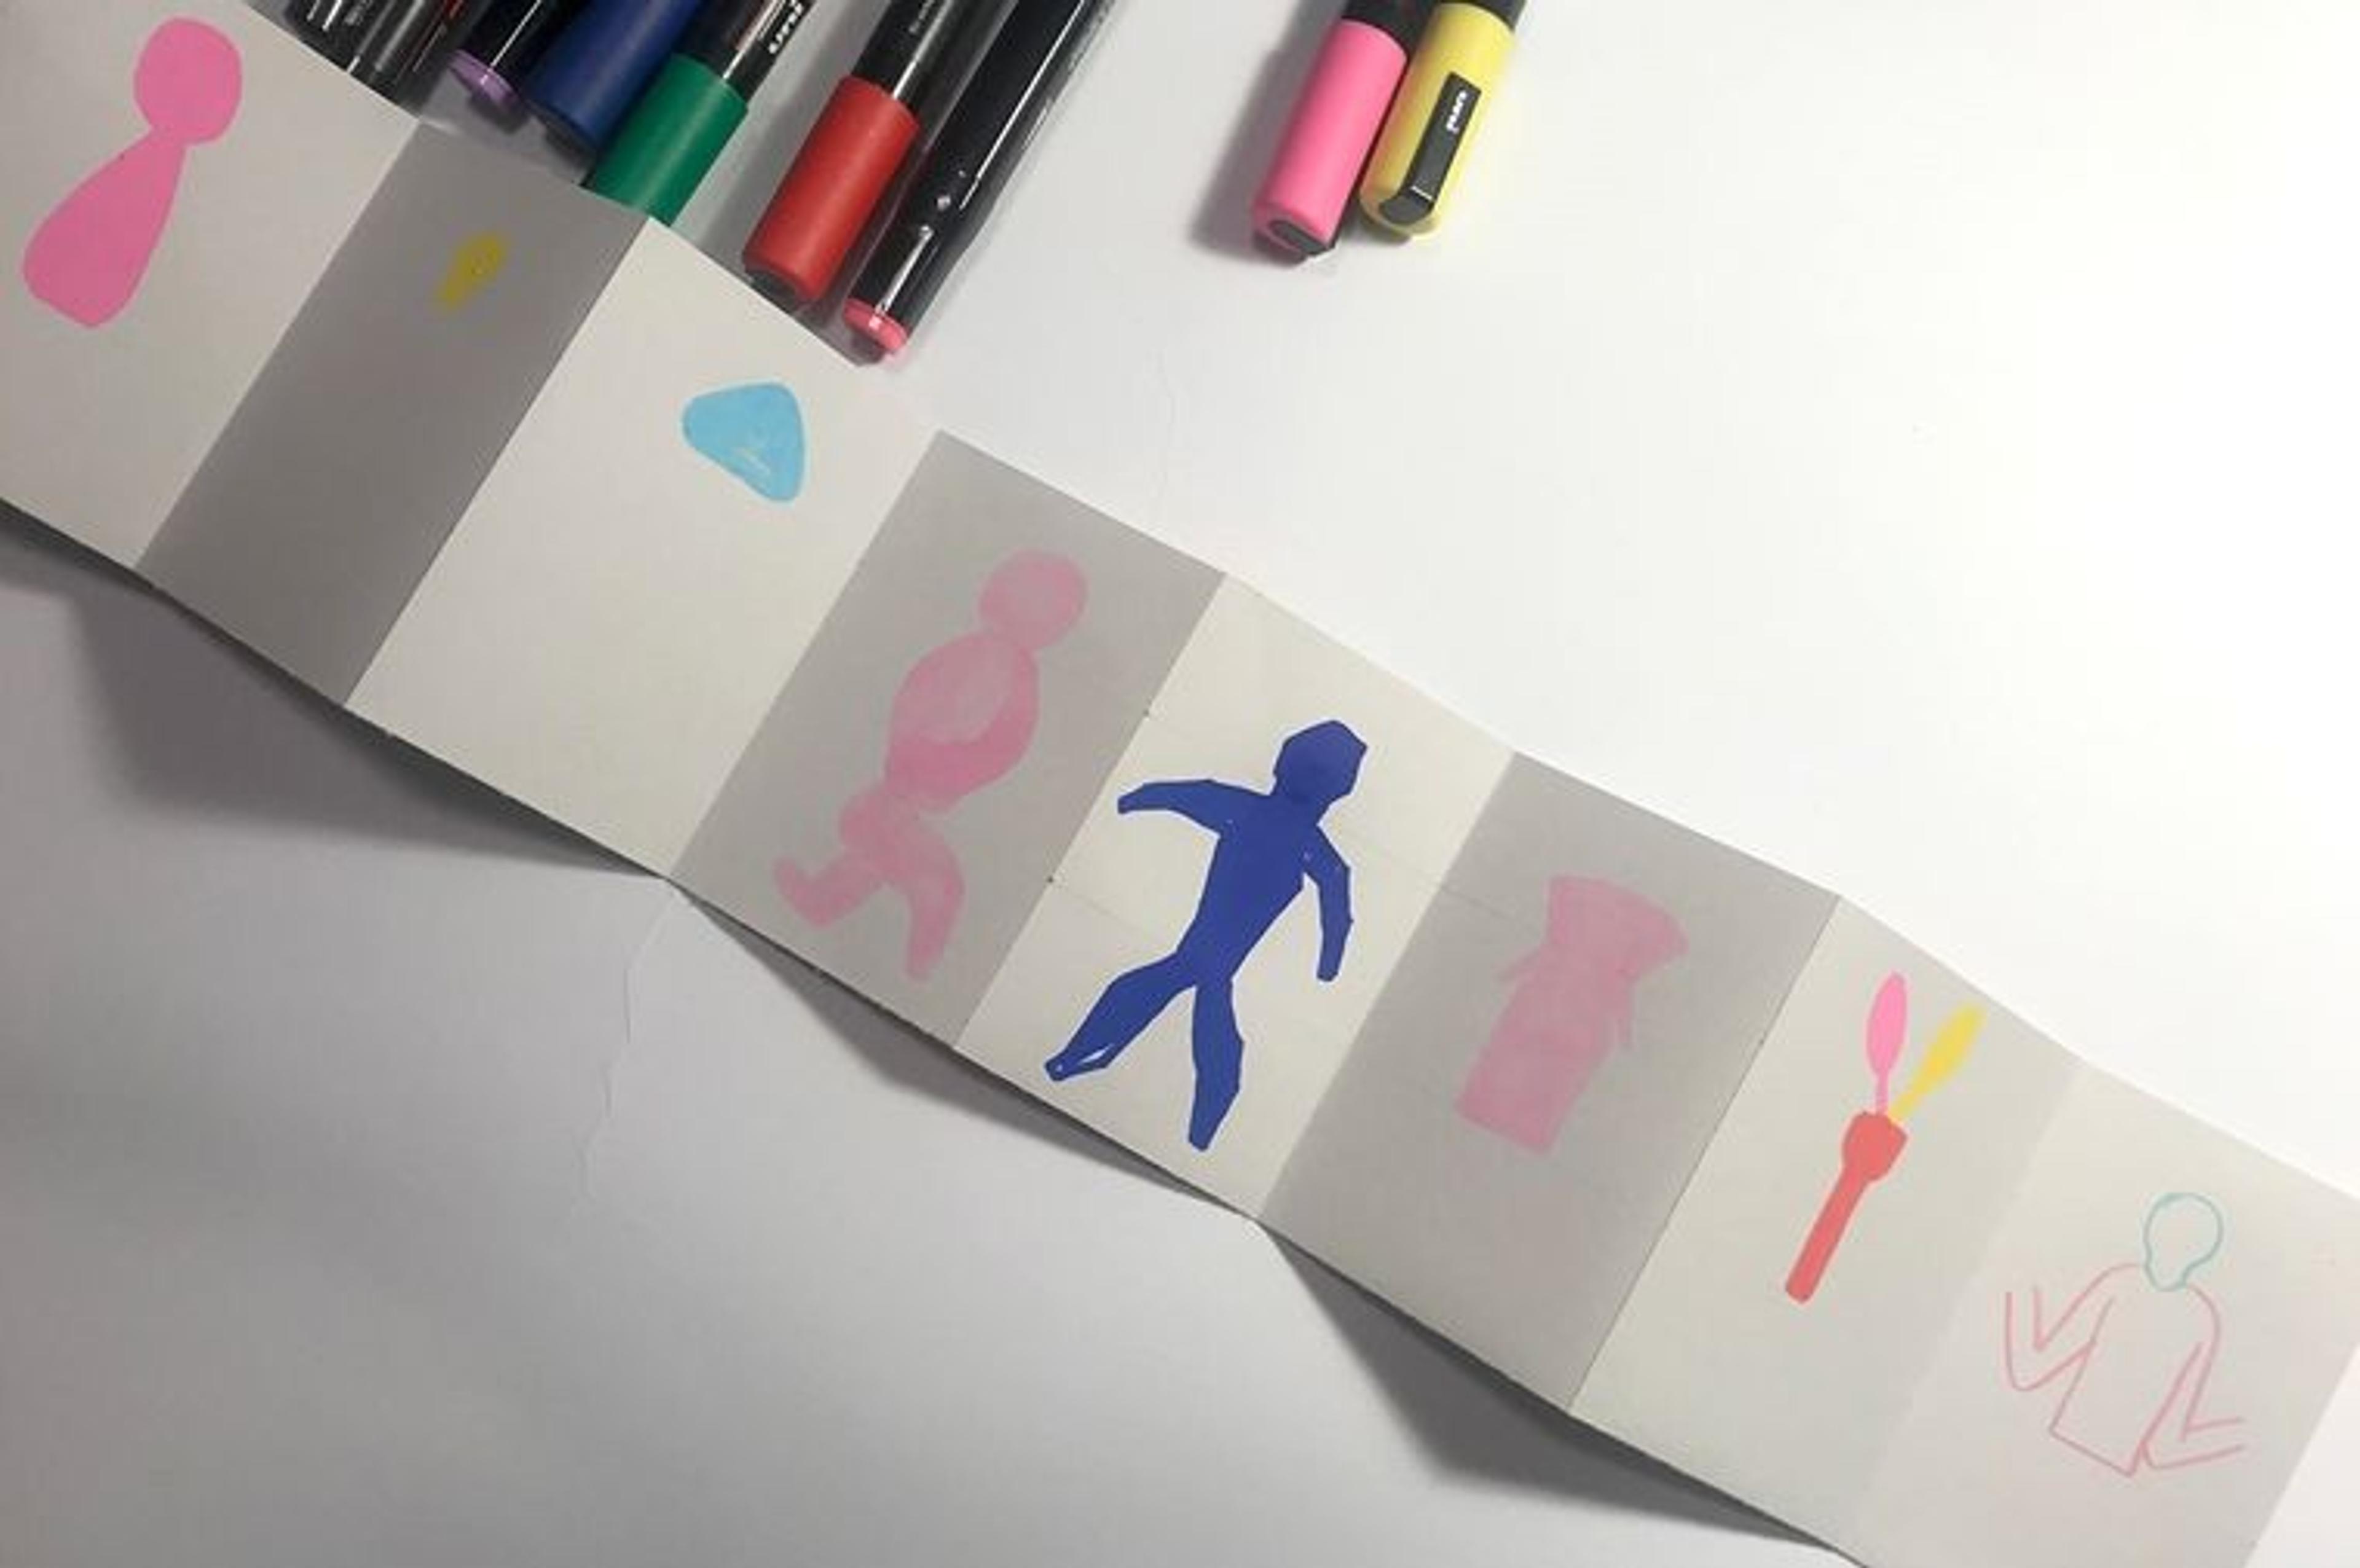
I normally begin with shapes. Don't worry about making it look exactly like the original work of art. You can choose different colors and alter shapes. Remember, this is not about drawing precisely but making your own mark with your interpretation. Be playful!
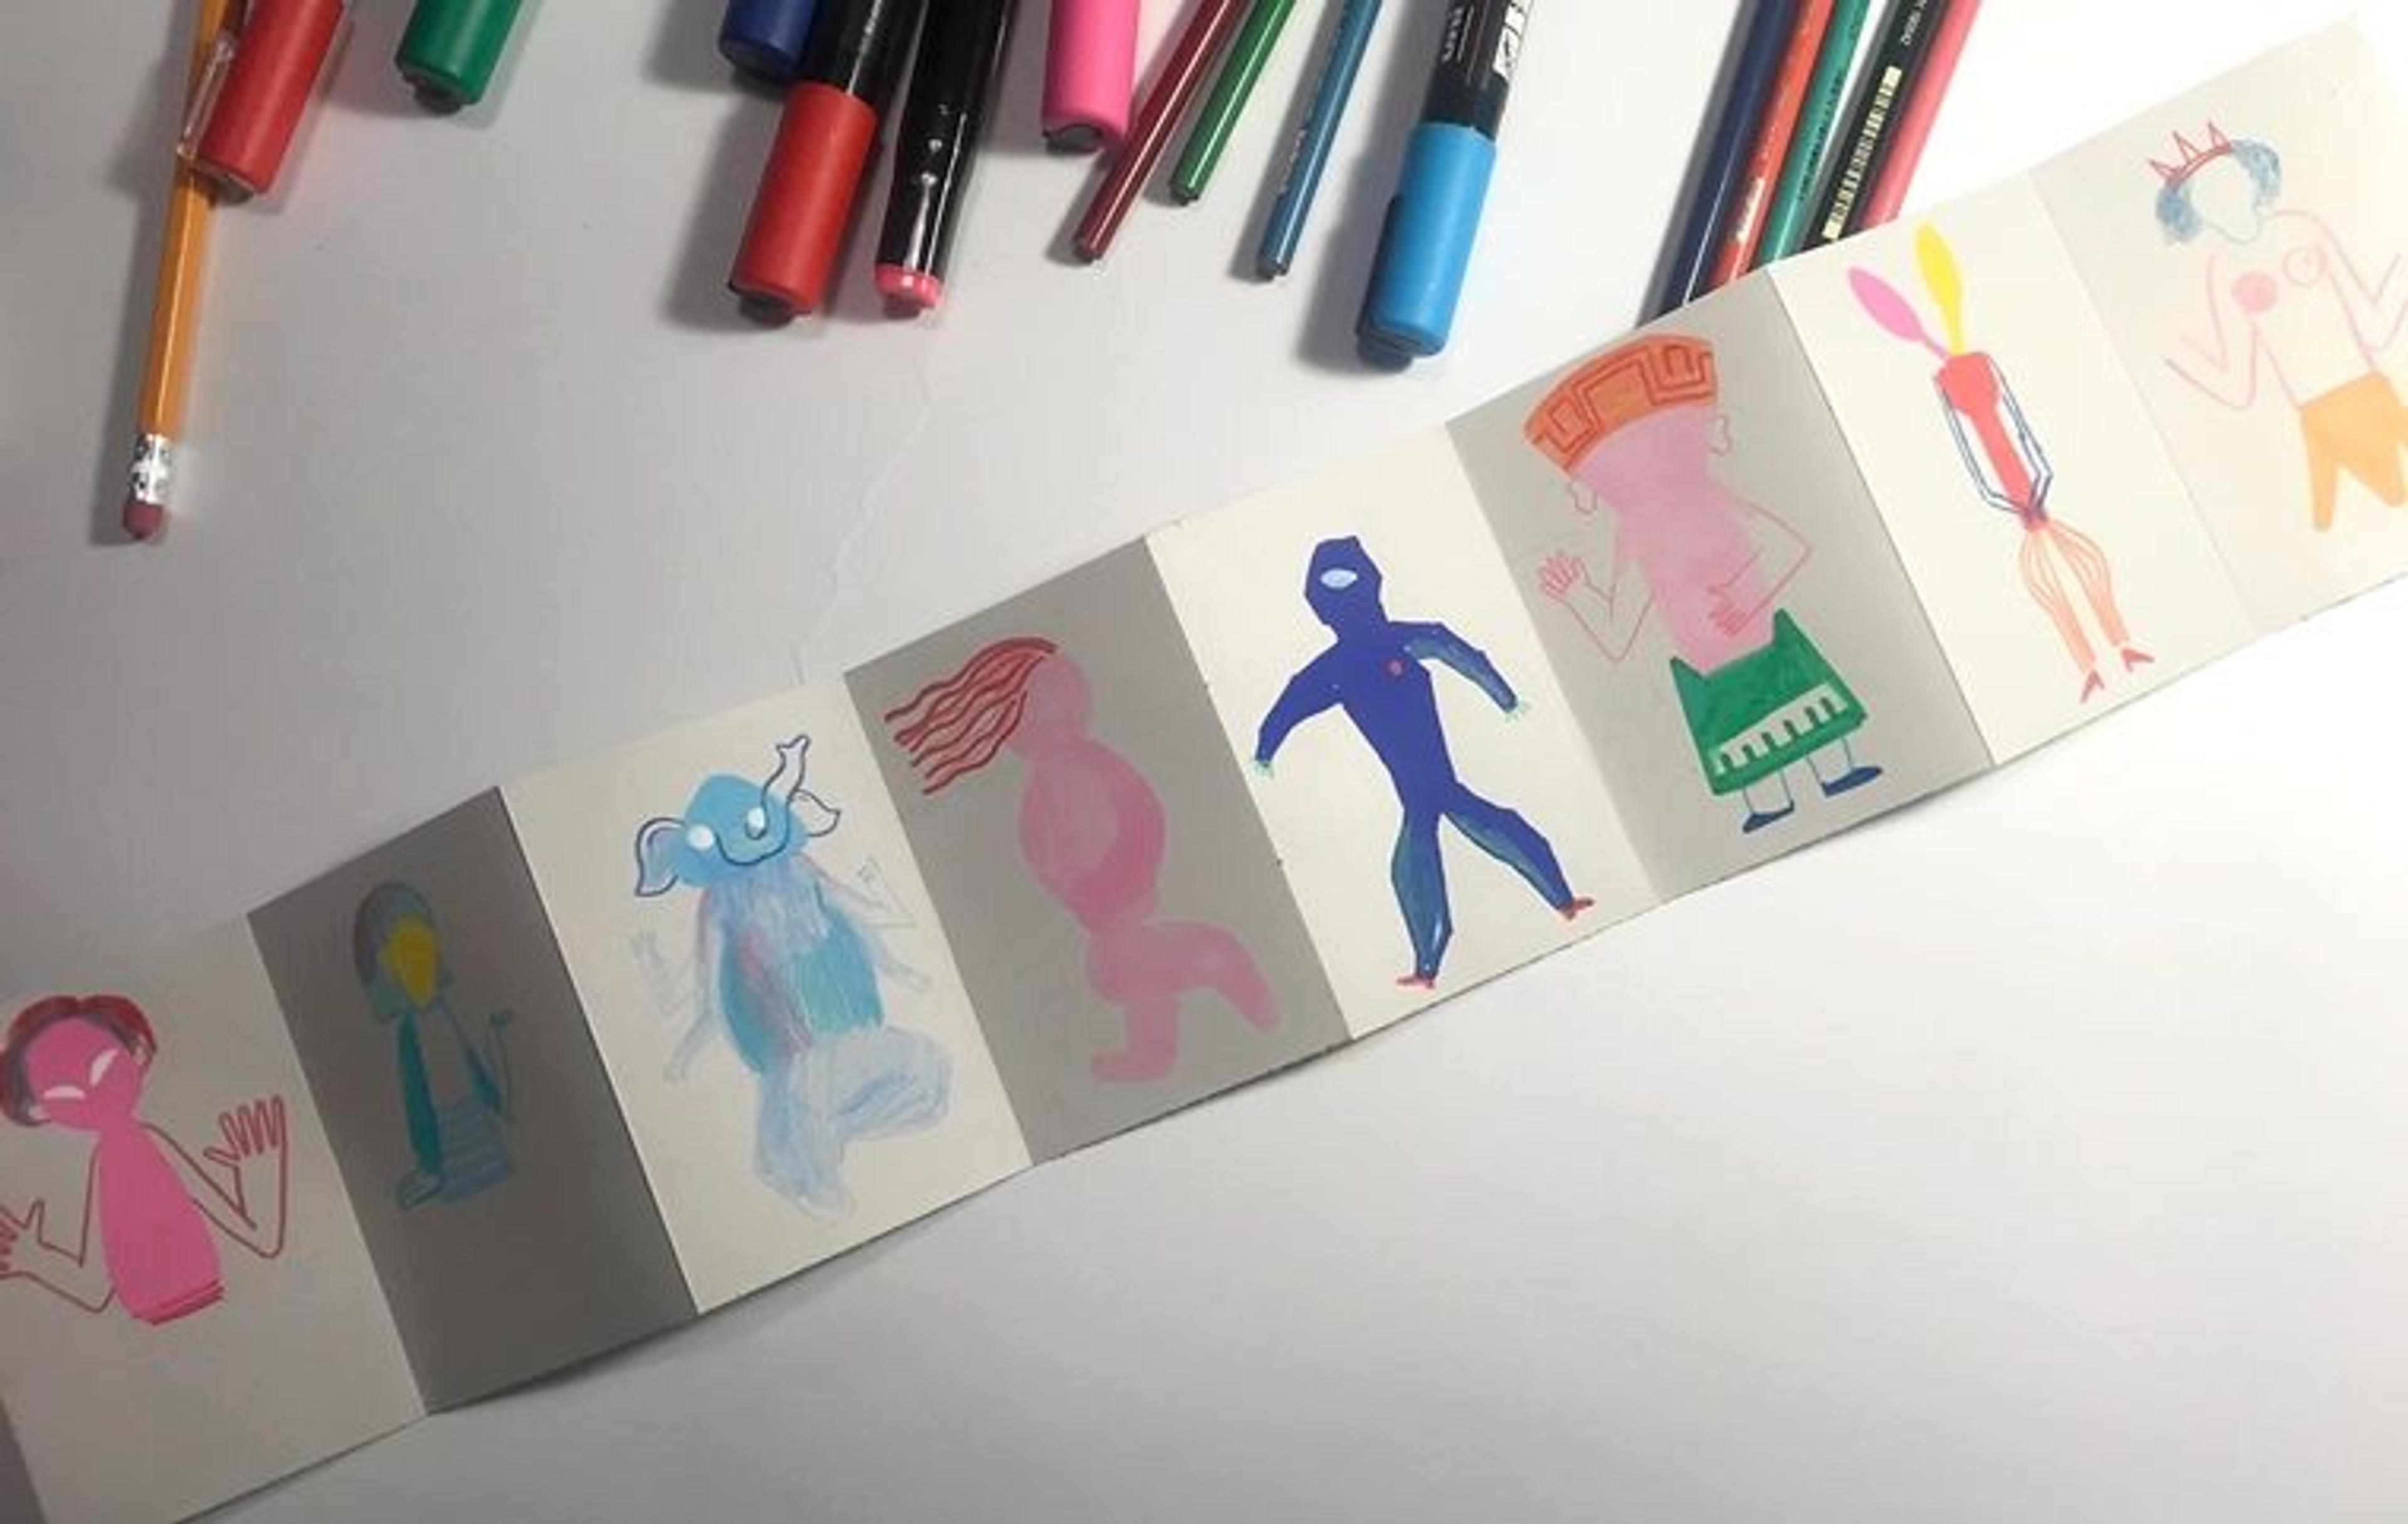
Then, I add small details such as eyes, hair, and other features. If you want to, you can change your character's facial expressions. Again, this is all about having fun!
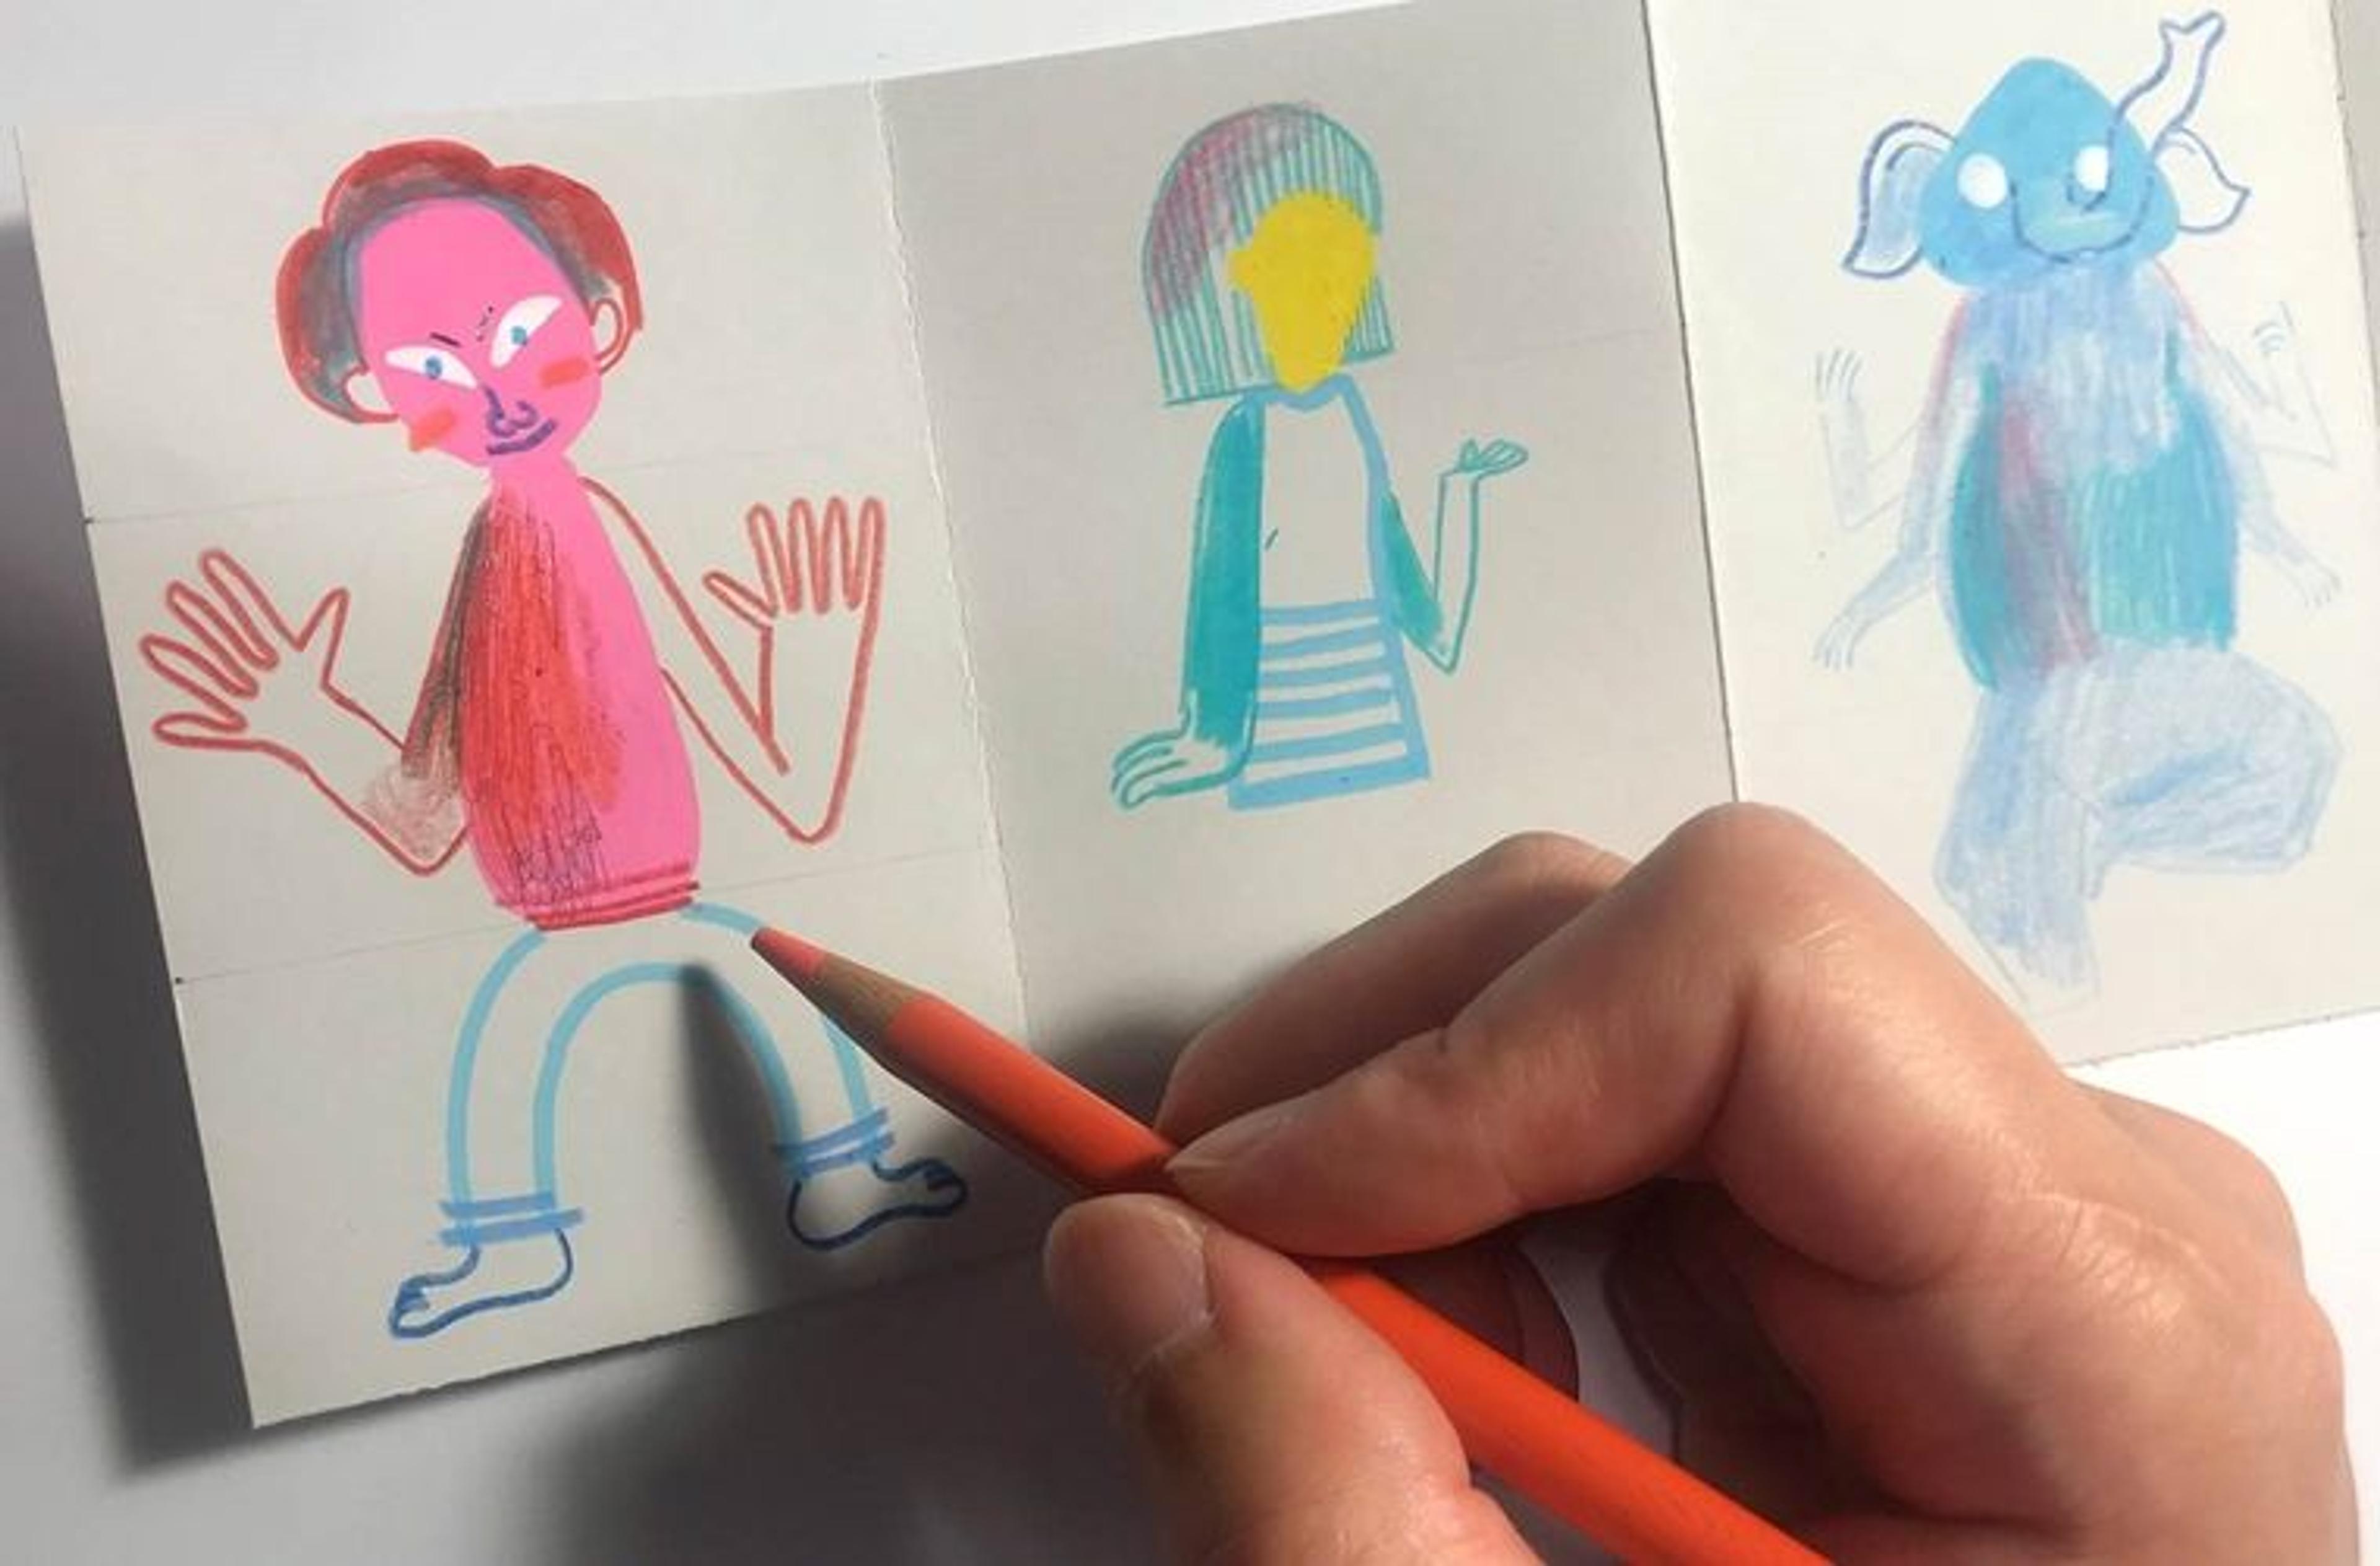
I also often play with textures. When I draw with colored pencils, I can use the pencil in different ways to make different textures. Try out making a variety of lines and marked to create different textures and patterns. If you would like to make a flat and smooth image instead, then you can do that, too. We all have our own way of using tools!
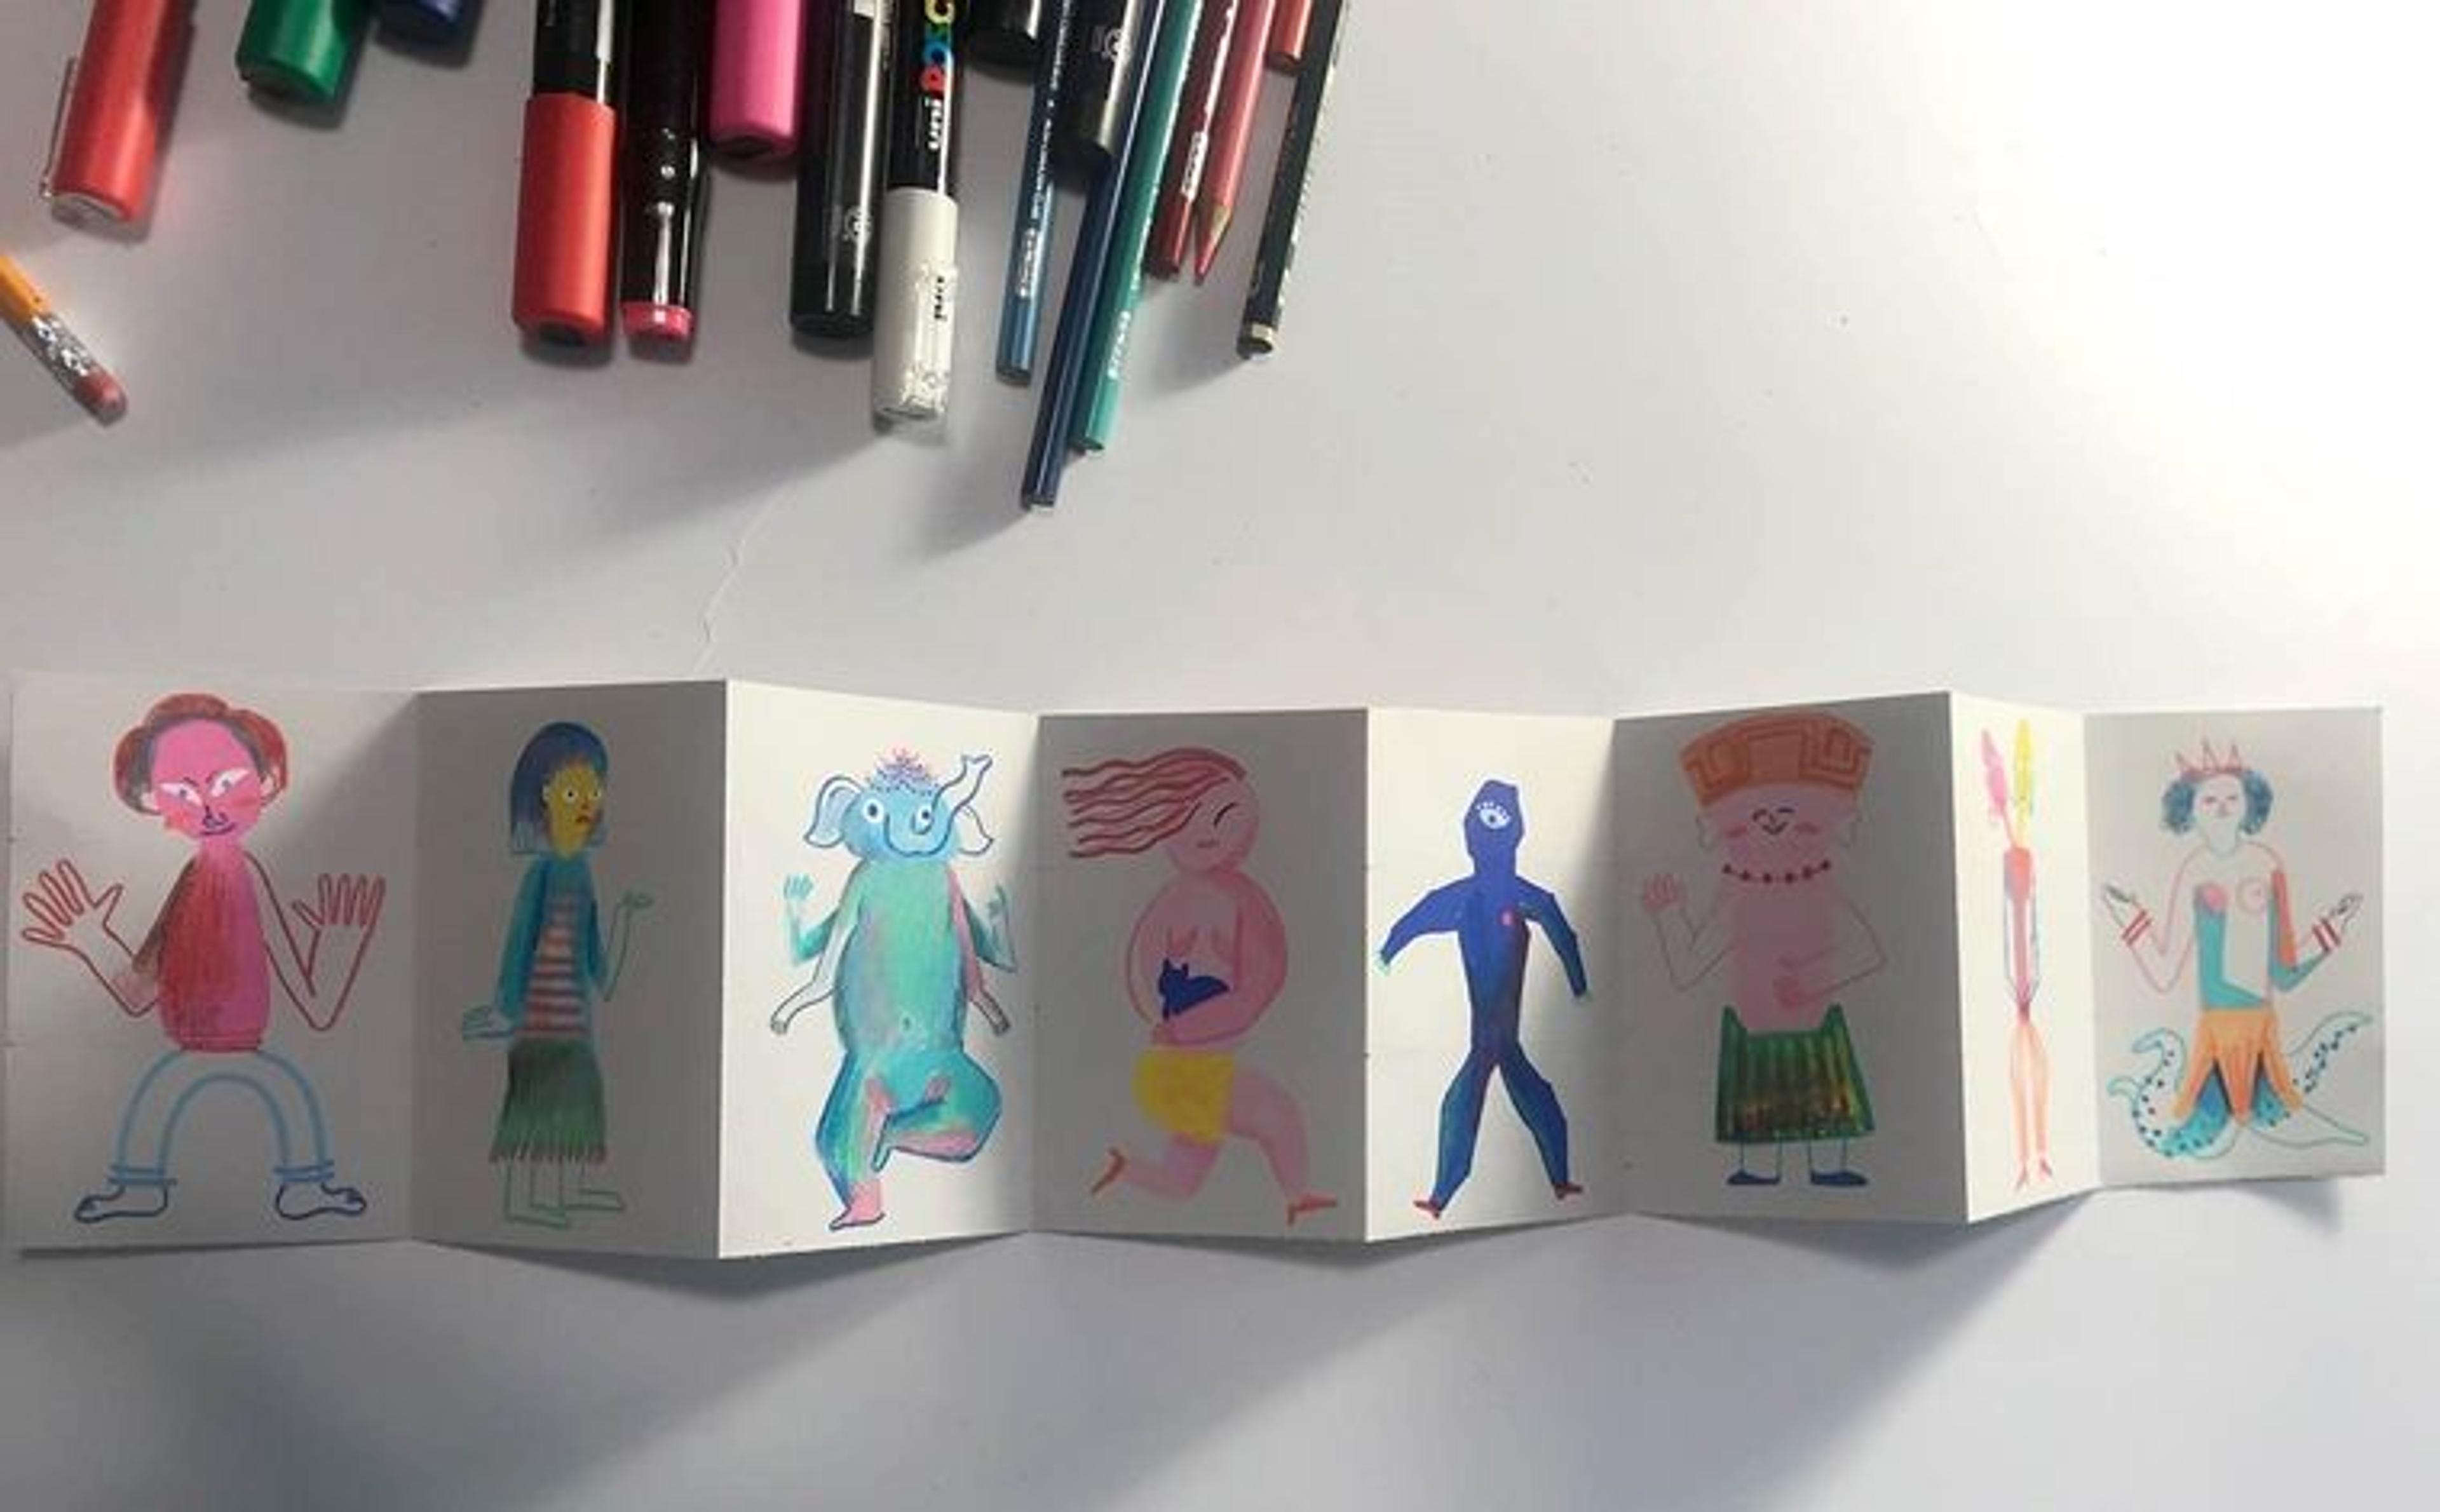
Here are all of my finished drawings! Now it is time to cut the paper.
Once you have all nine drawings, pinch the accordion book together like in the picture below. The panels on either end should be outside of your grip:
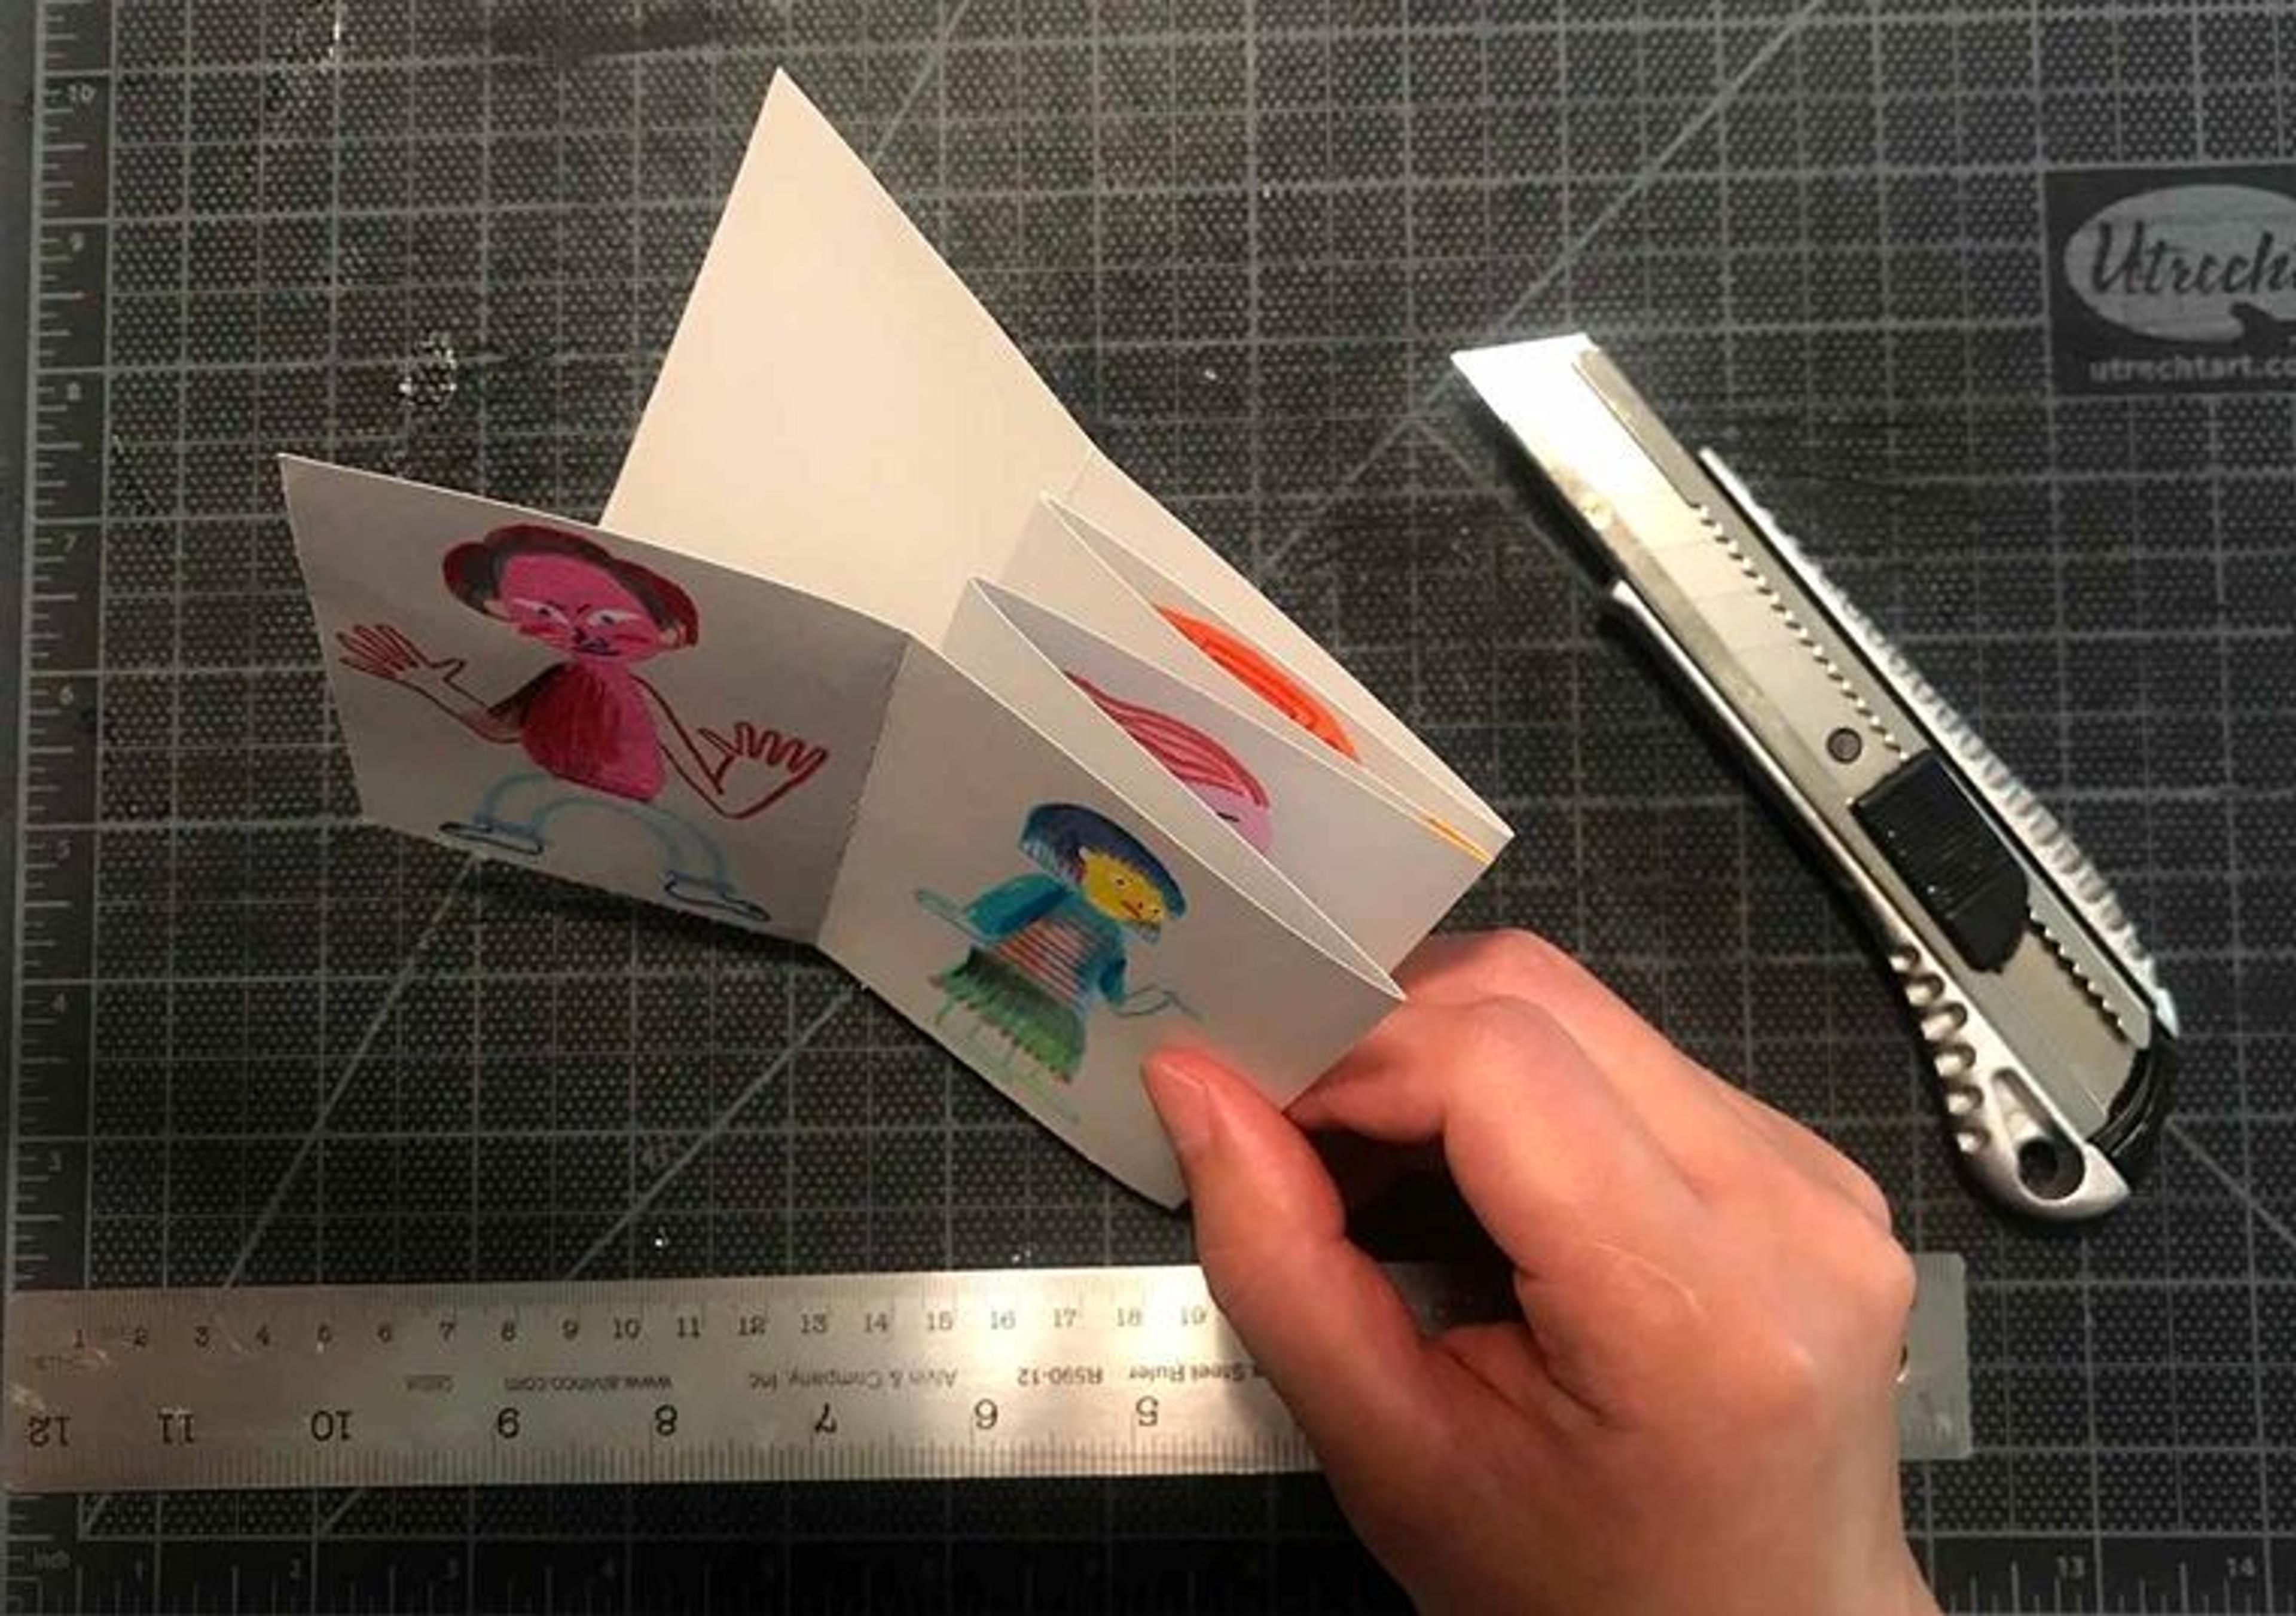
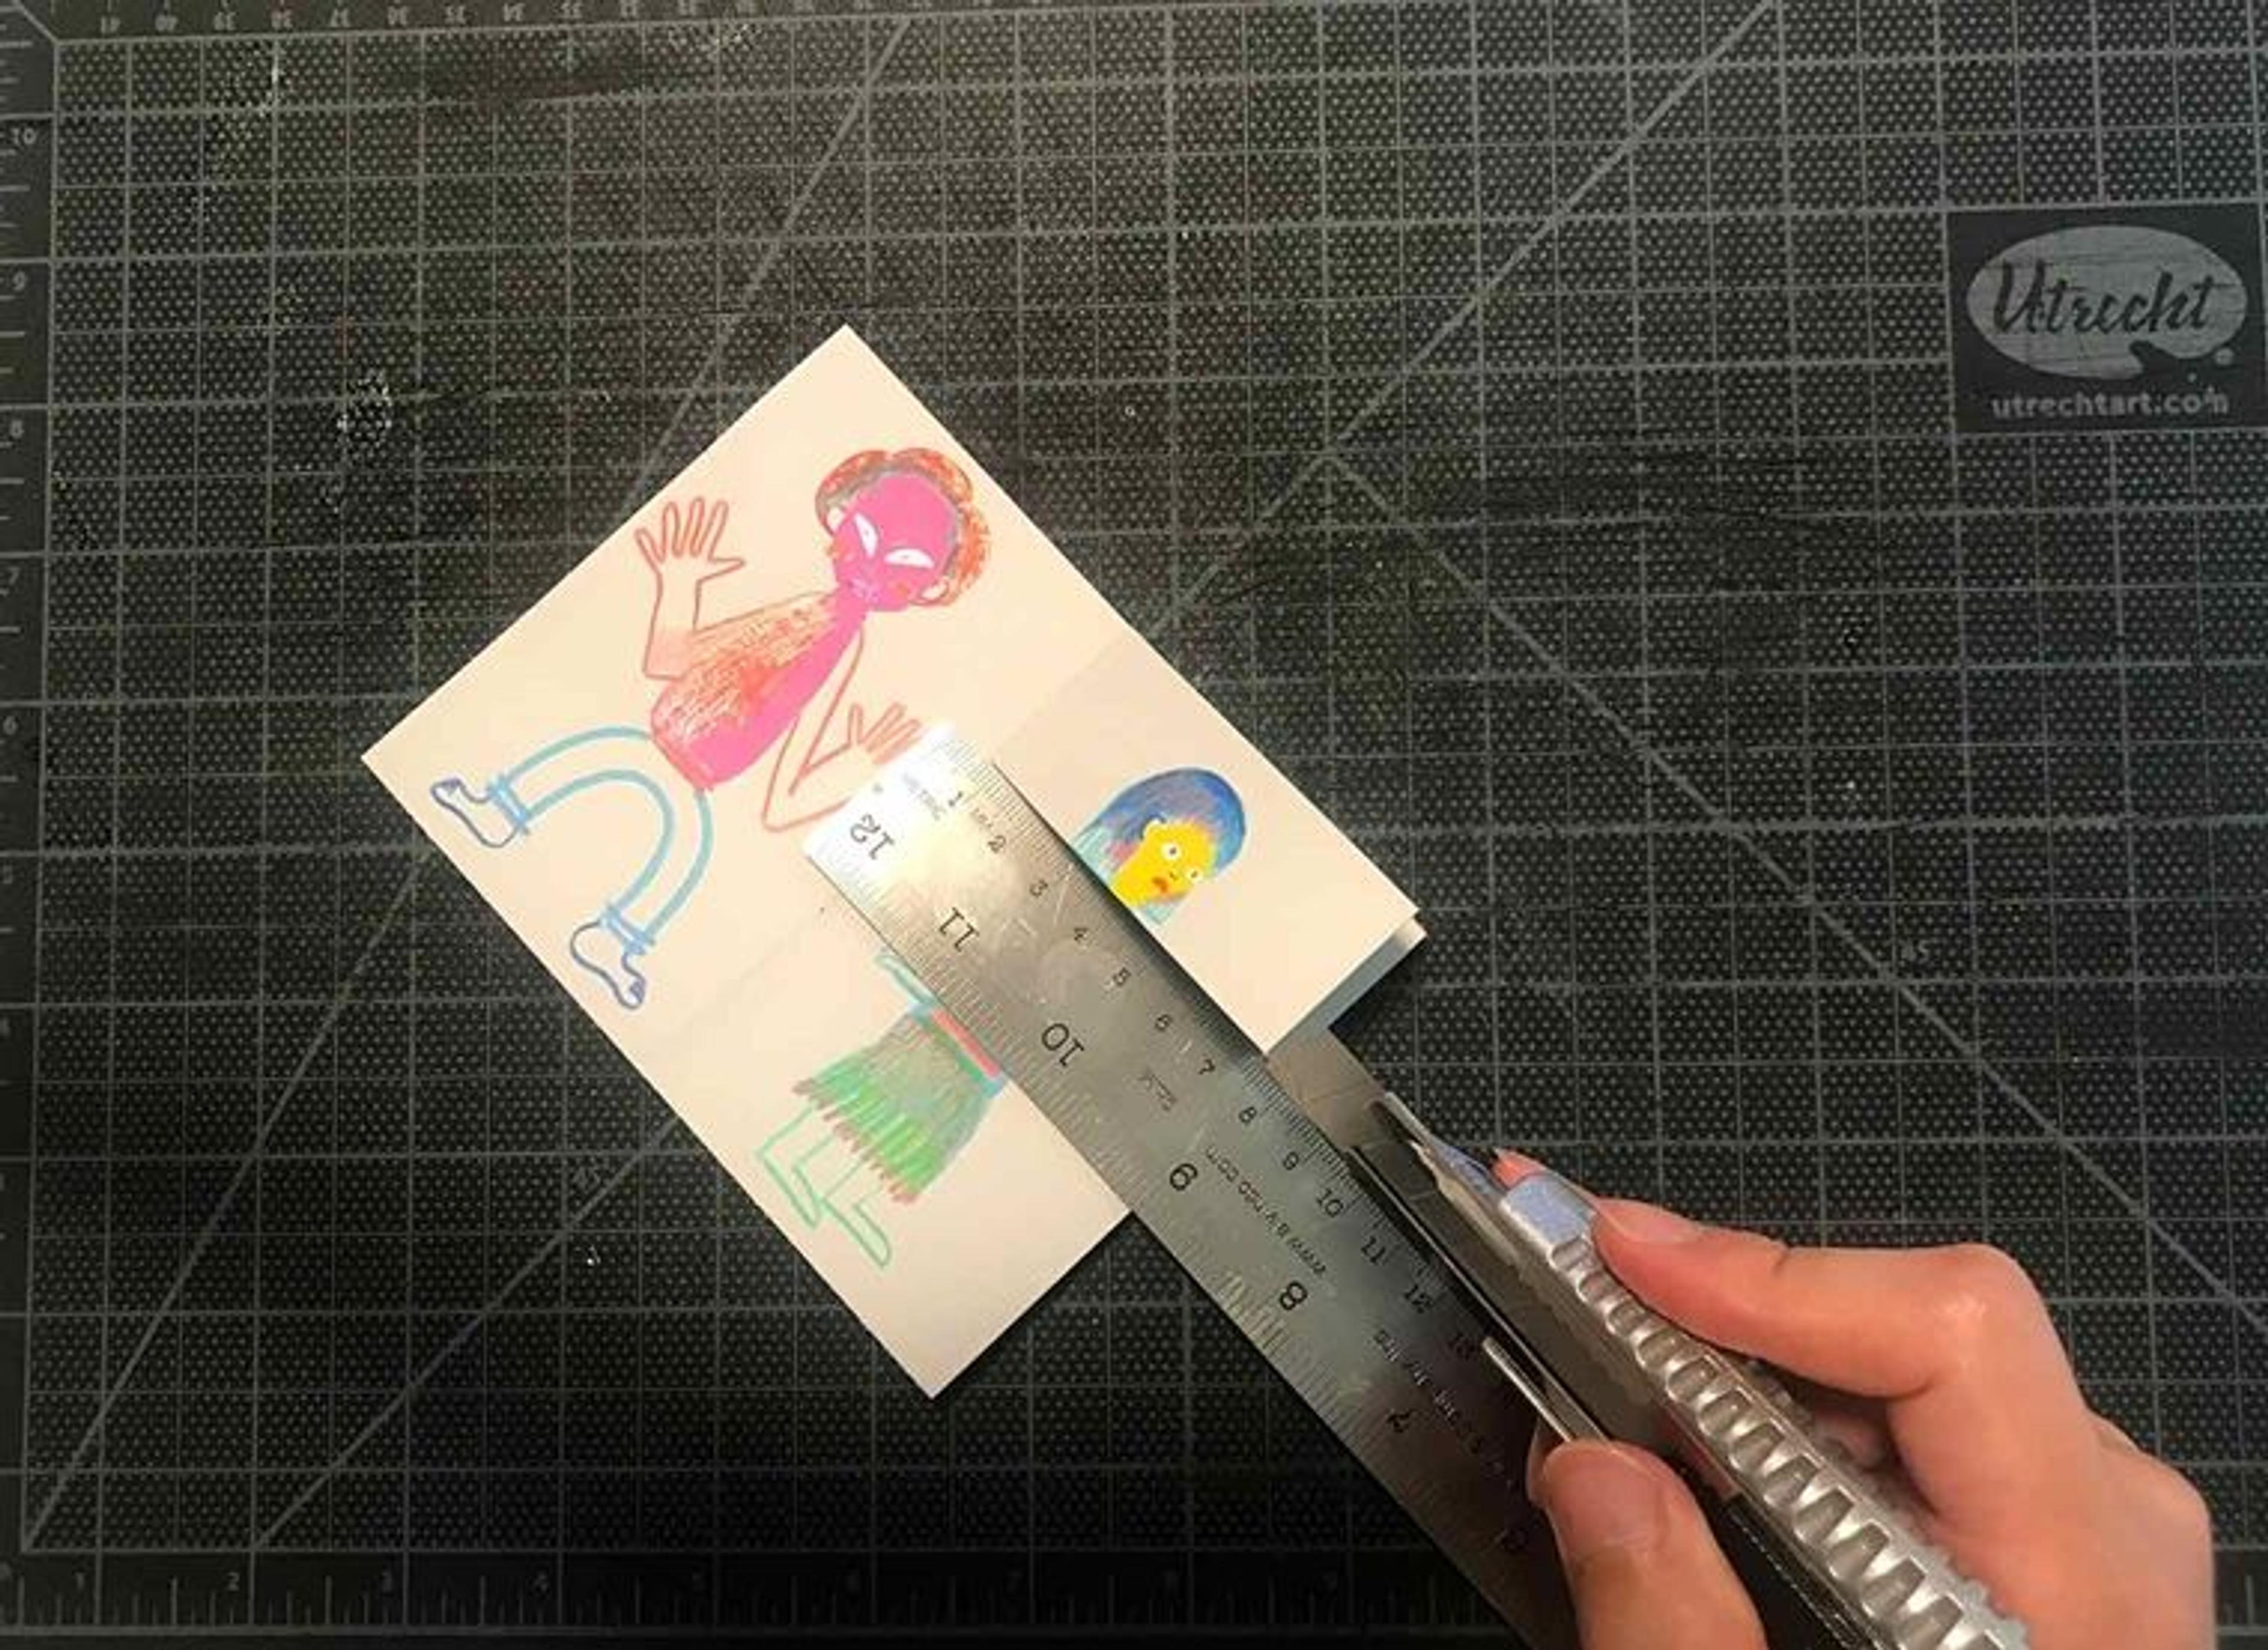
Using scissors, cut the panels that are folded together along the two lines you drew with your ruler. I am using a special knife, but scissors work just as well. Make sure you don’t cut the panels on either end of the strip! These will be your front cover and back cover.
Give your book a title and draw your own cover.
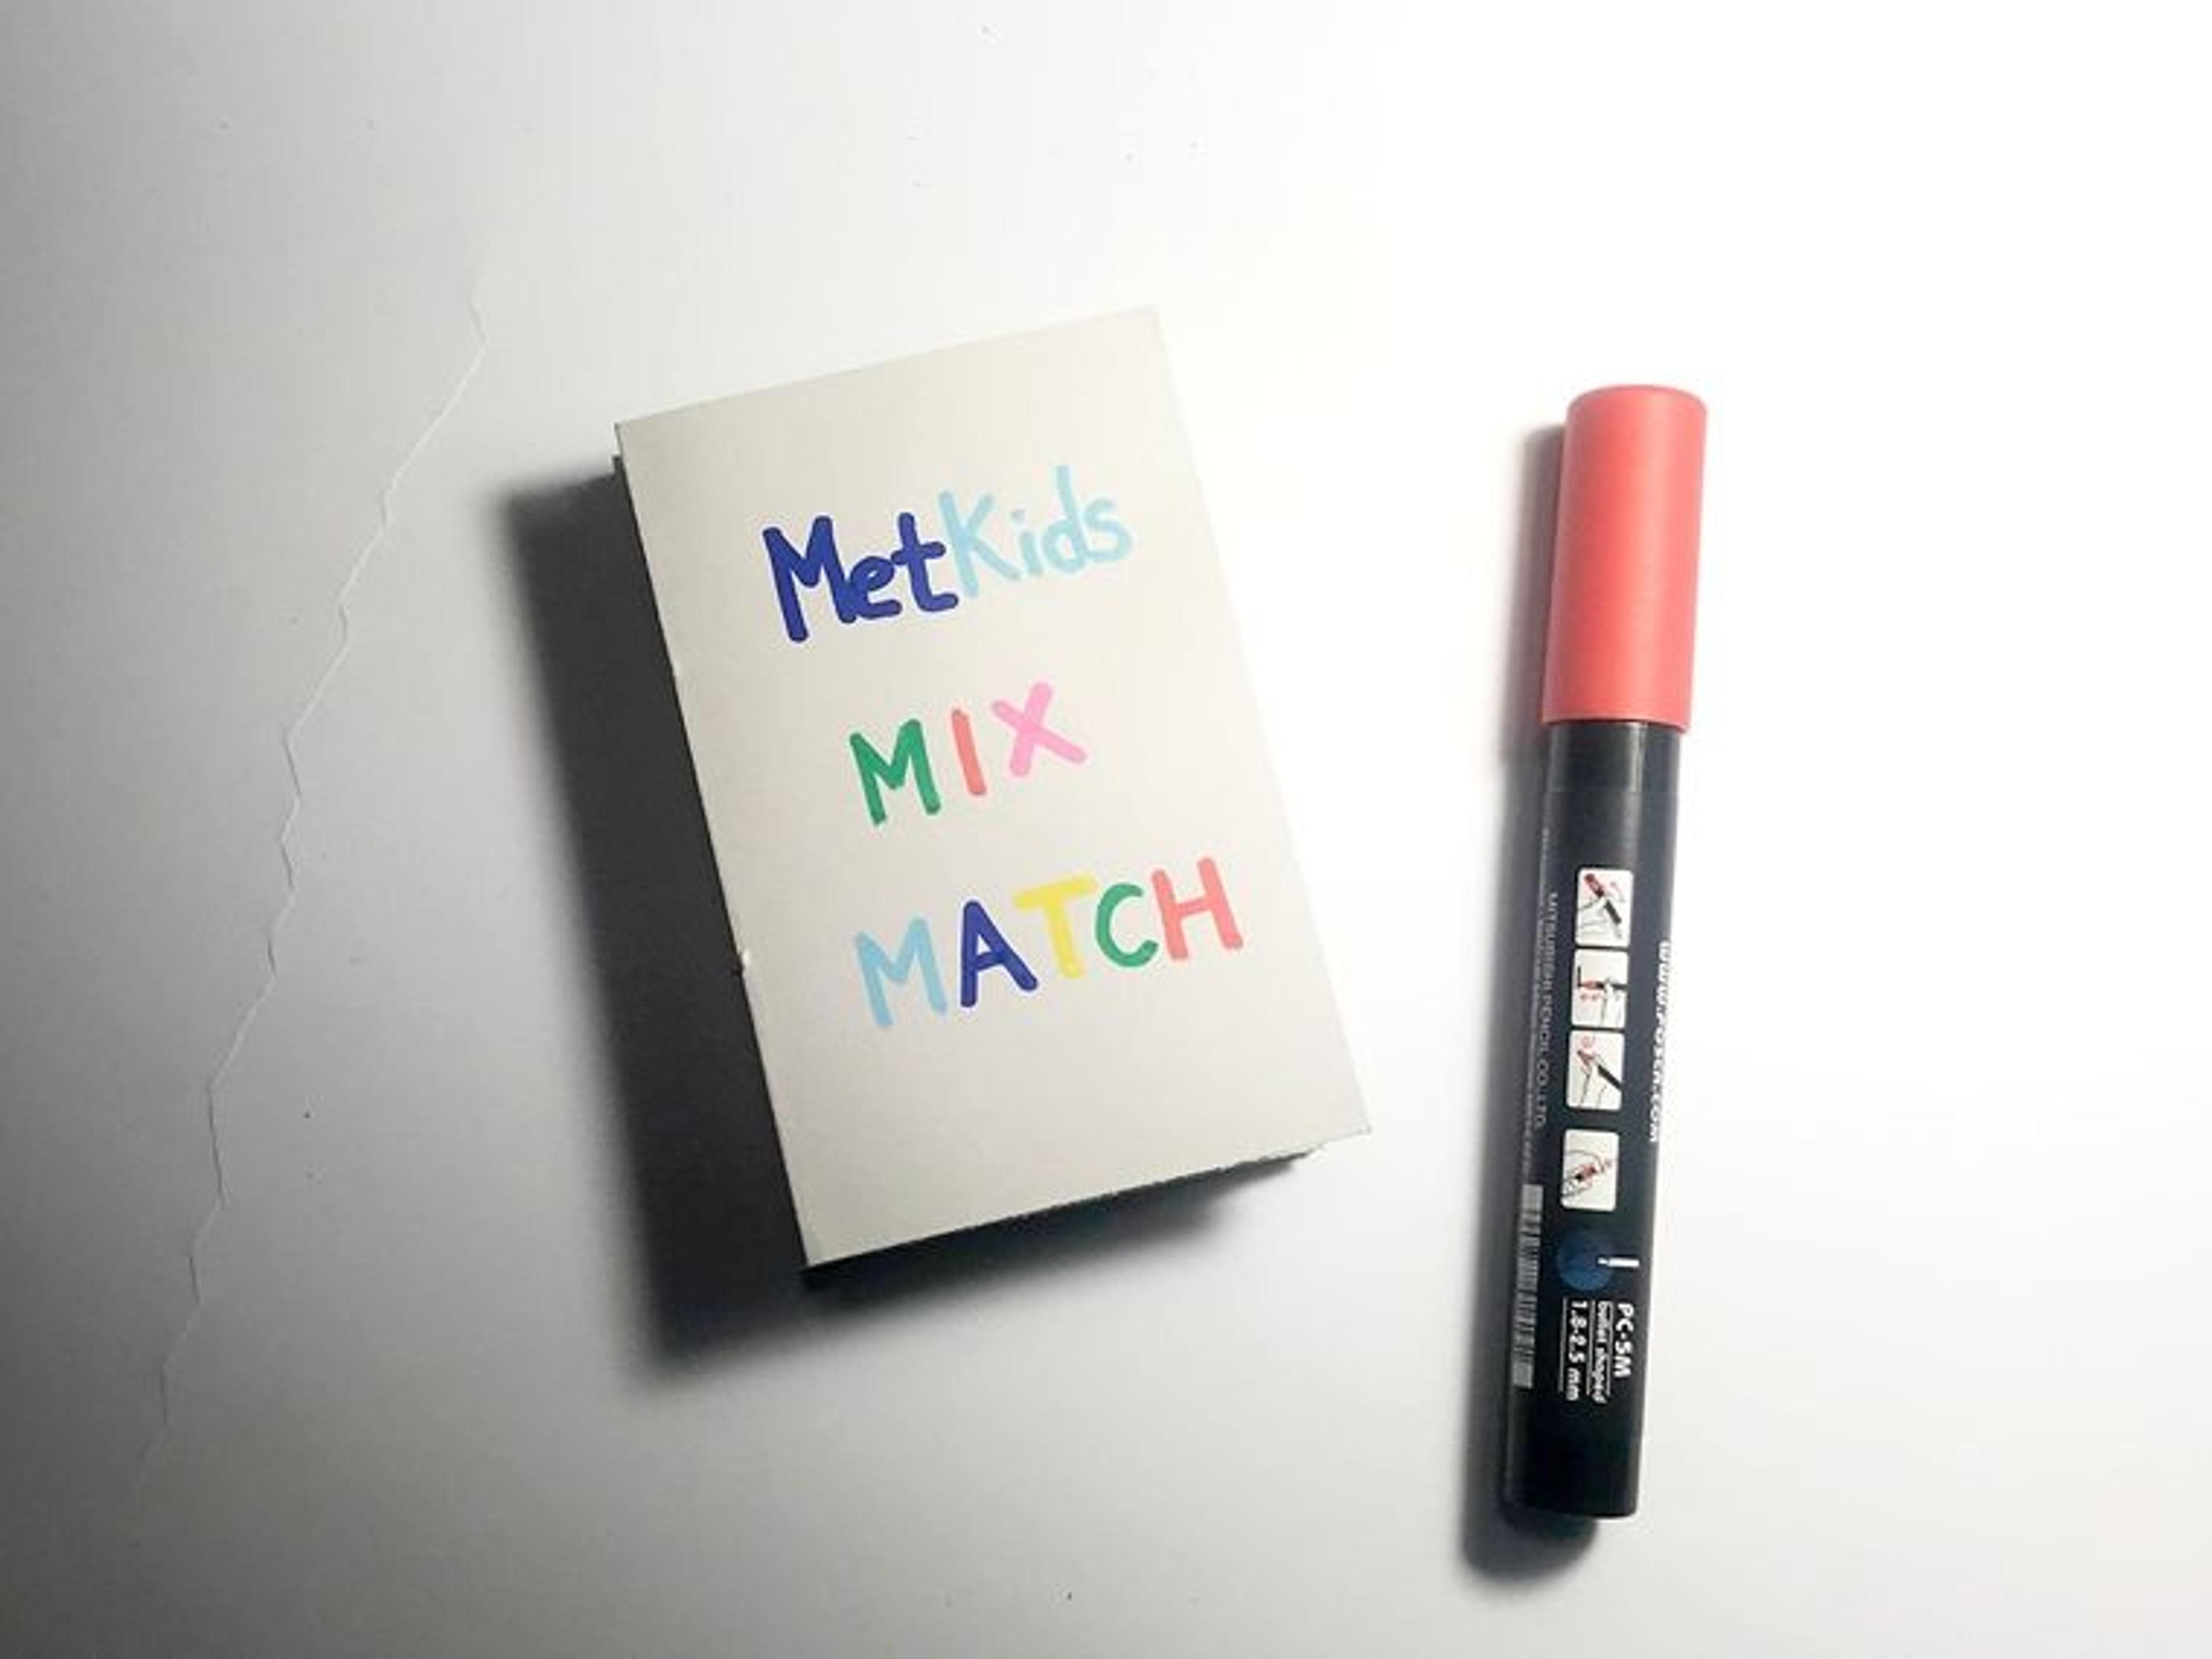
Now open it up, turn each section, and enjoy all of your mixed-and-matched creatures that were inspired by art at The Met!

All photos courtesy of Il Sung Na
